Installation manual
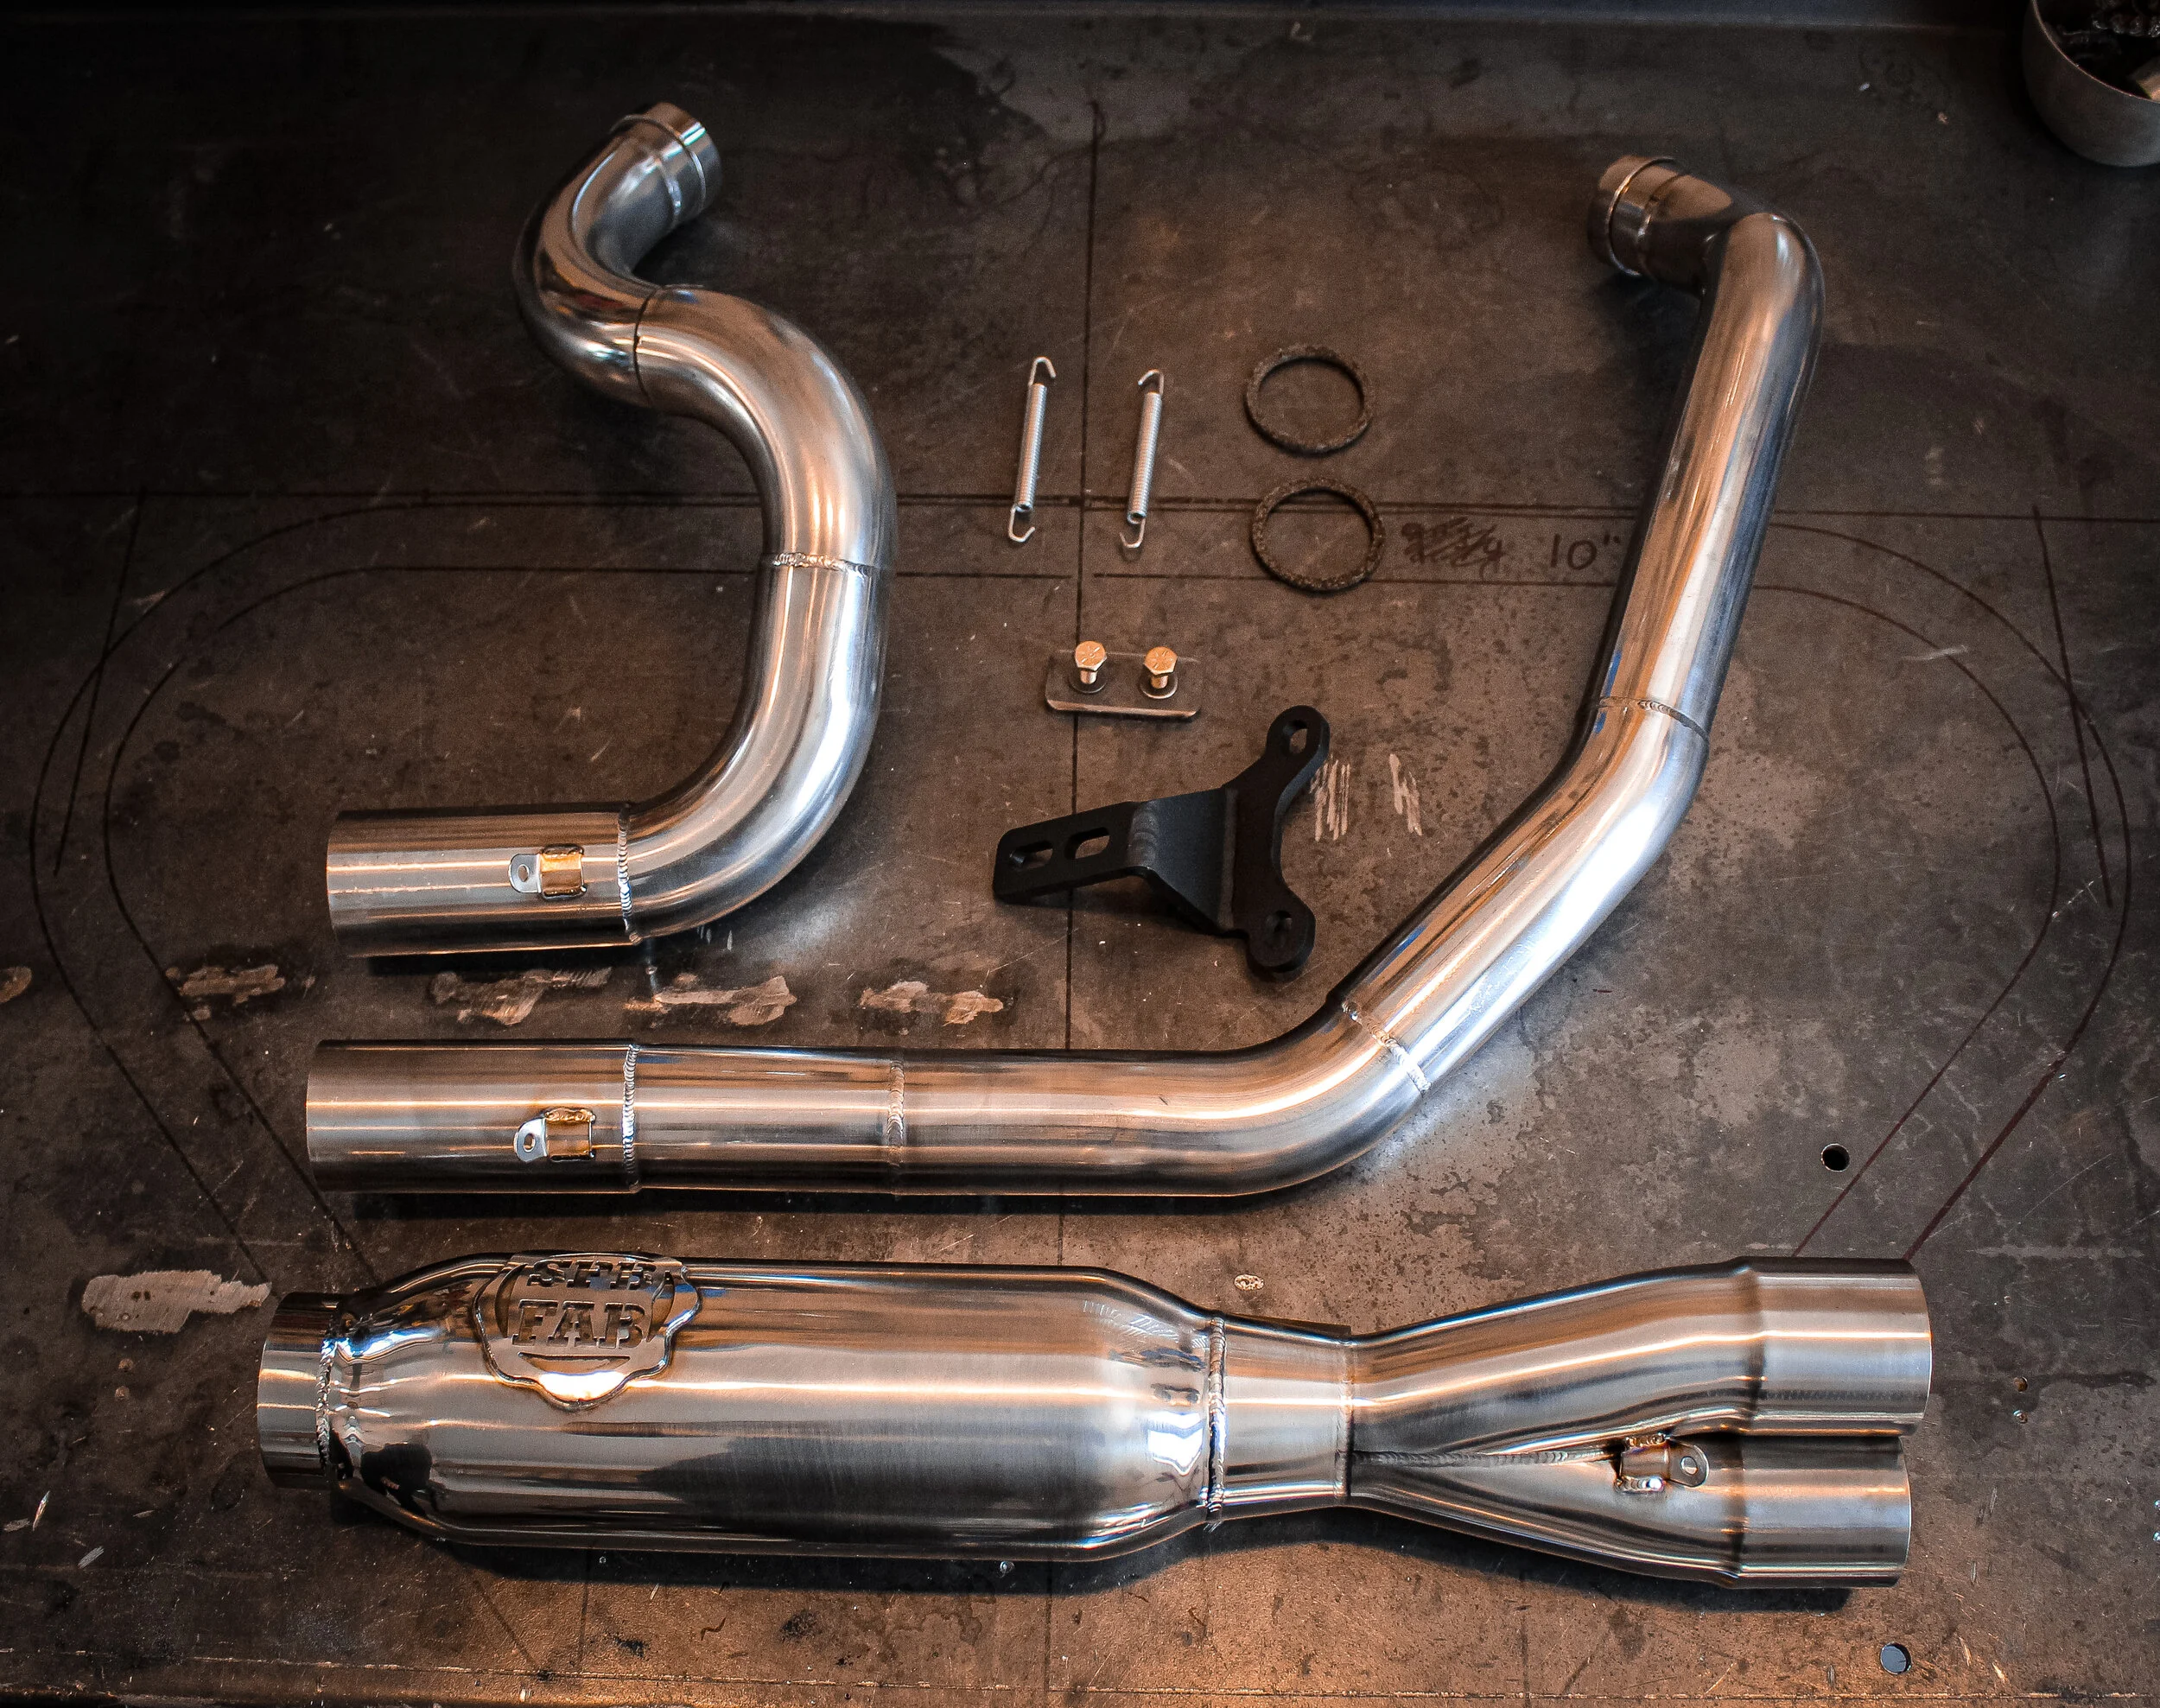
BOX CONTENT:
Headers
Muffler
Springs
Gaskets
Mounting plate
Exhaust bracket
Hardware
O2 adapter sensor (12mm to 18mm)

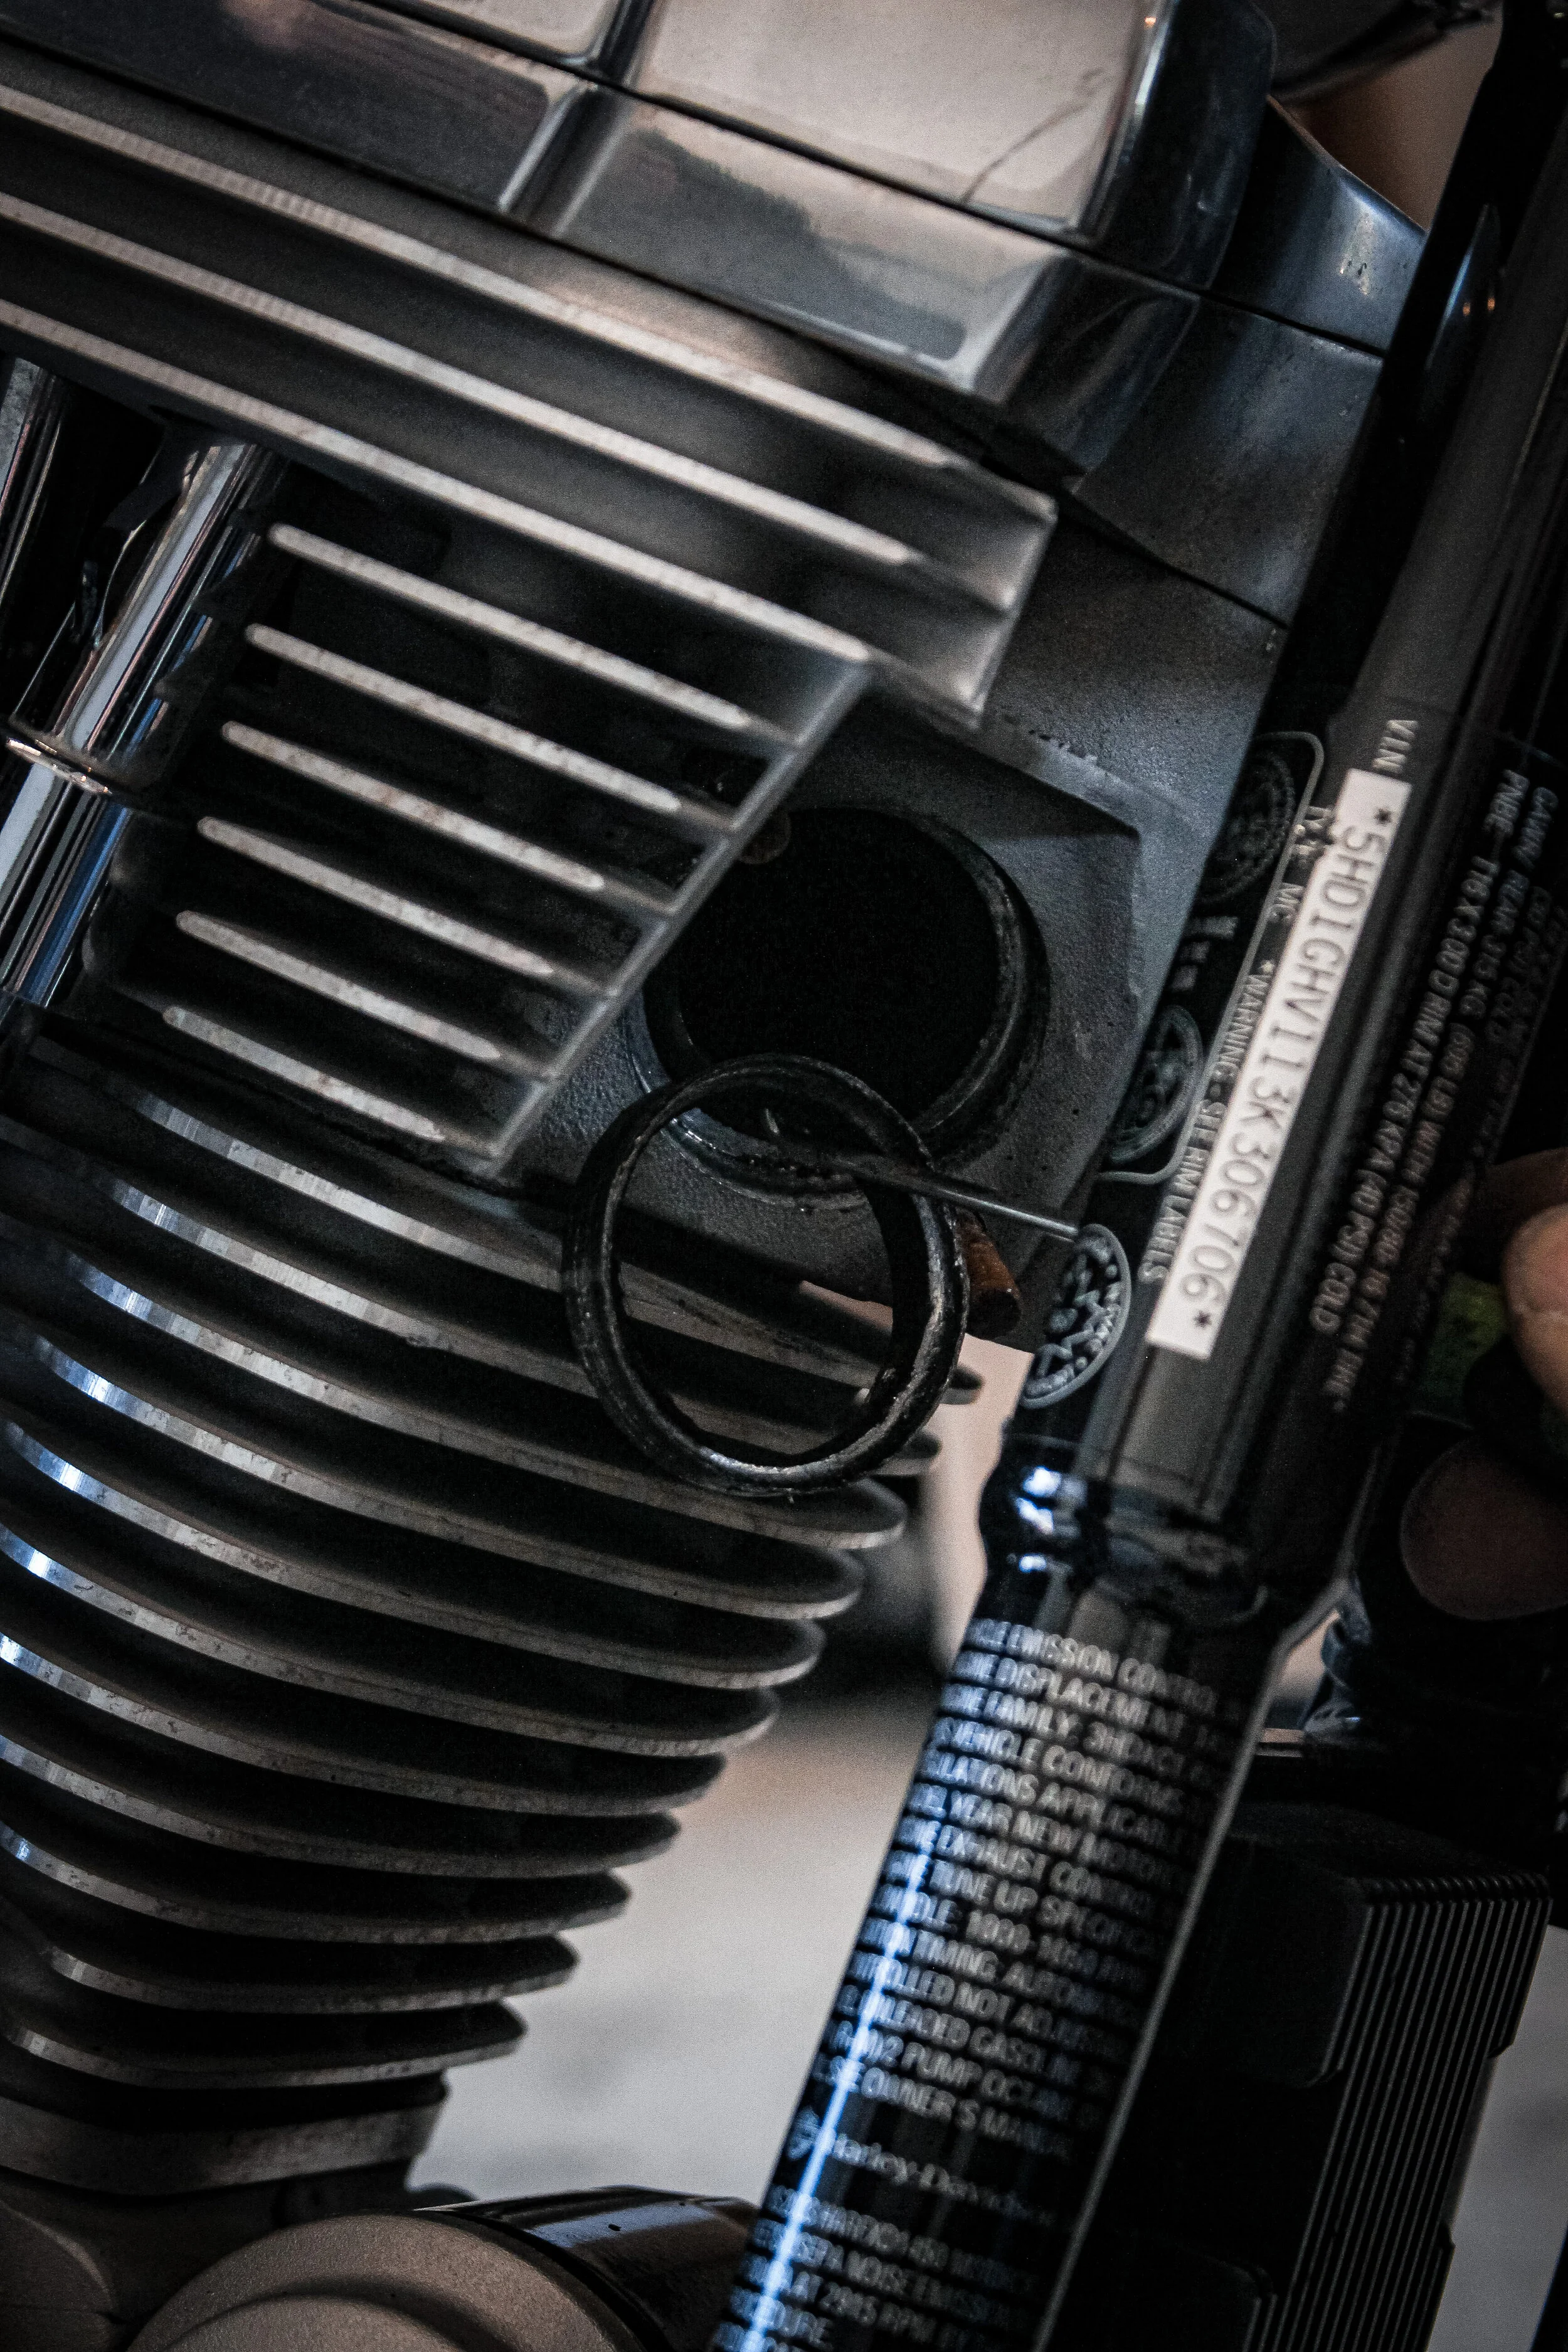
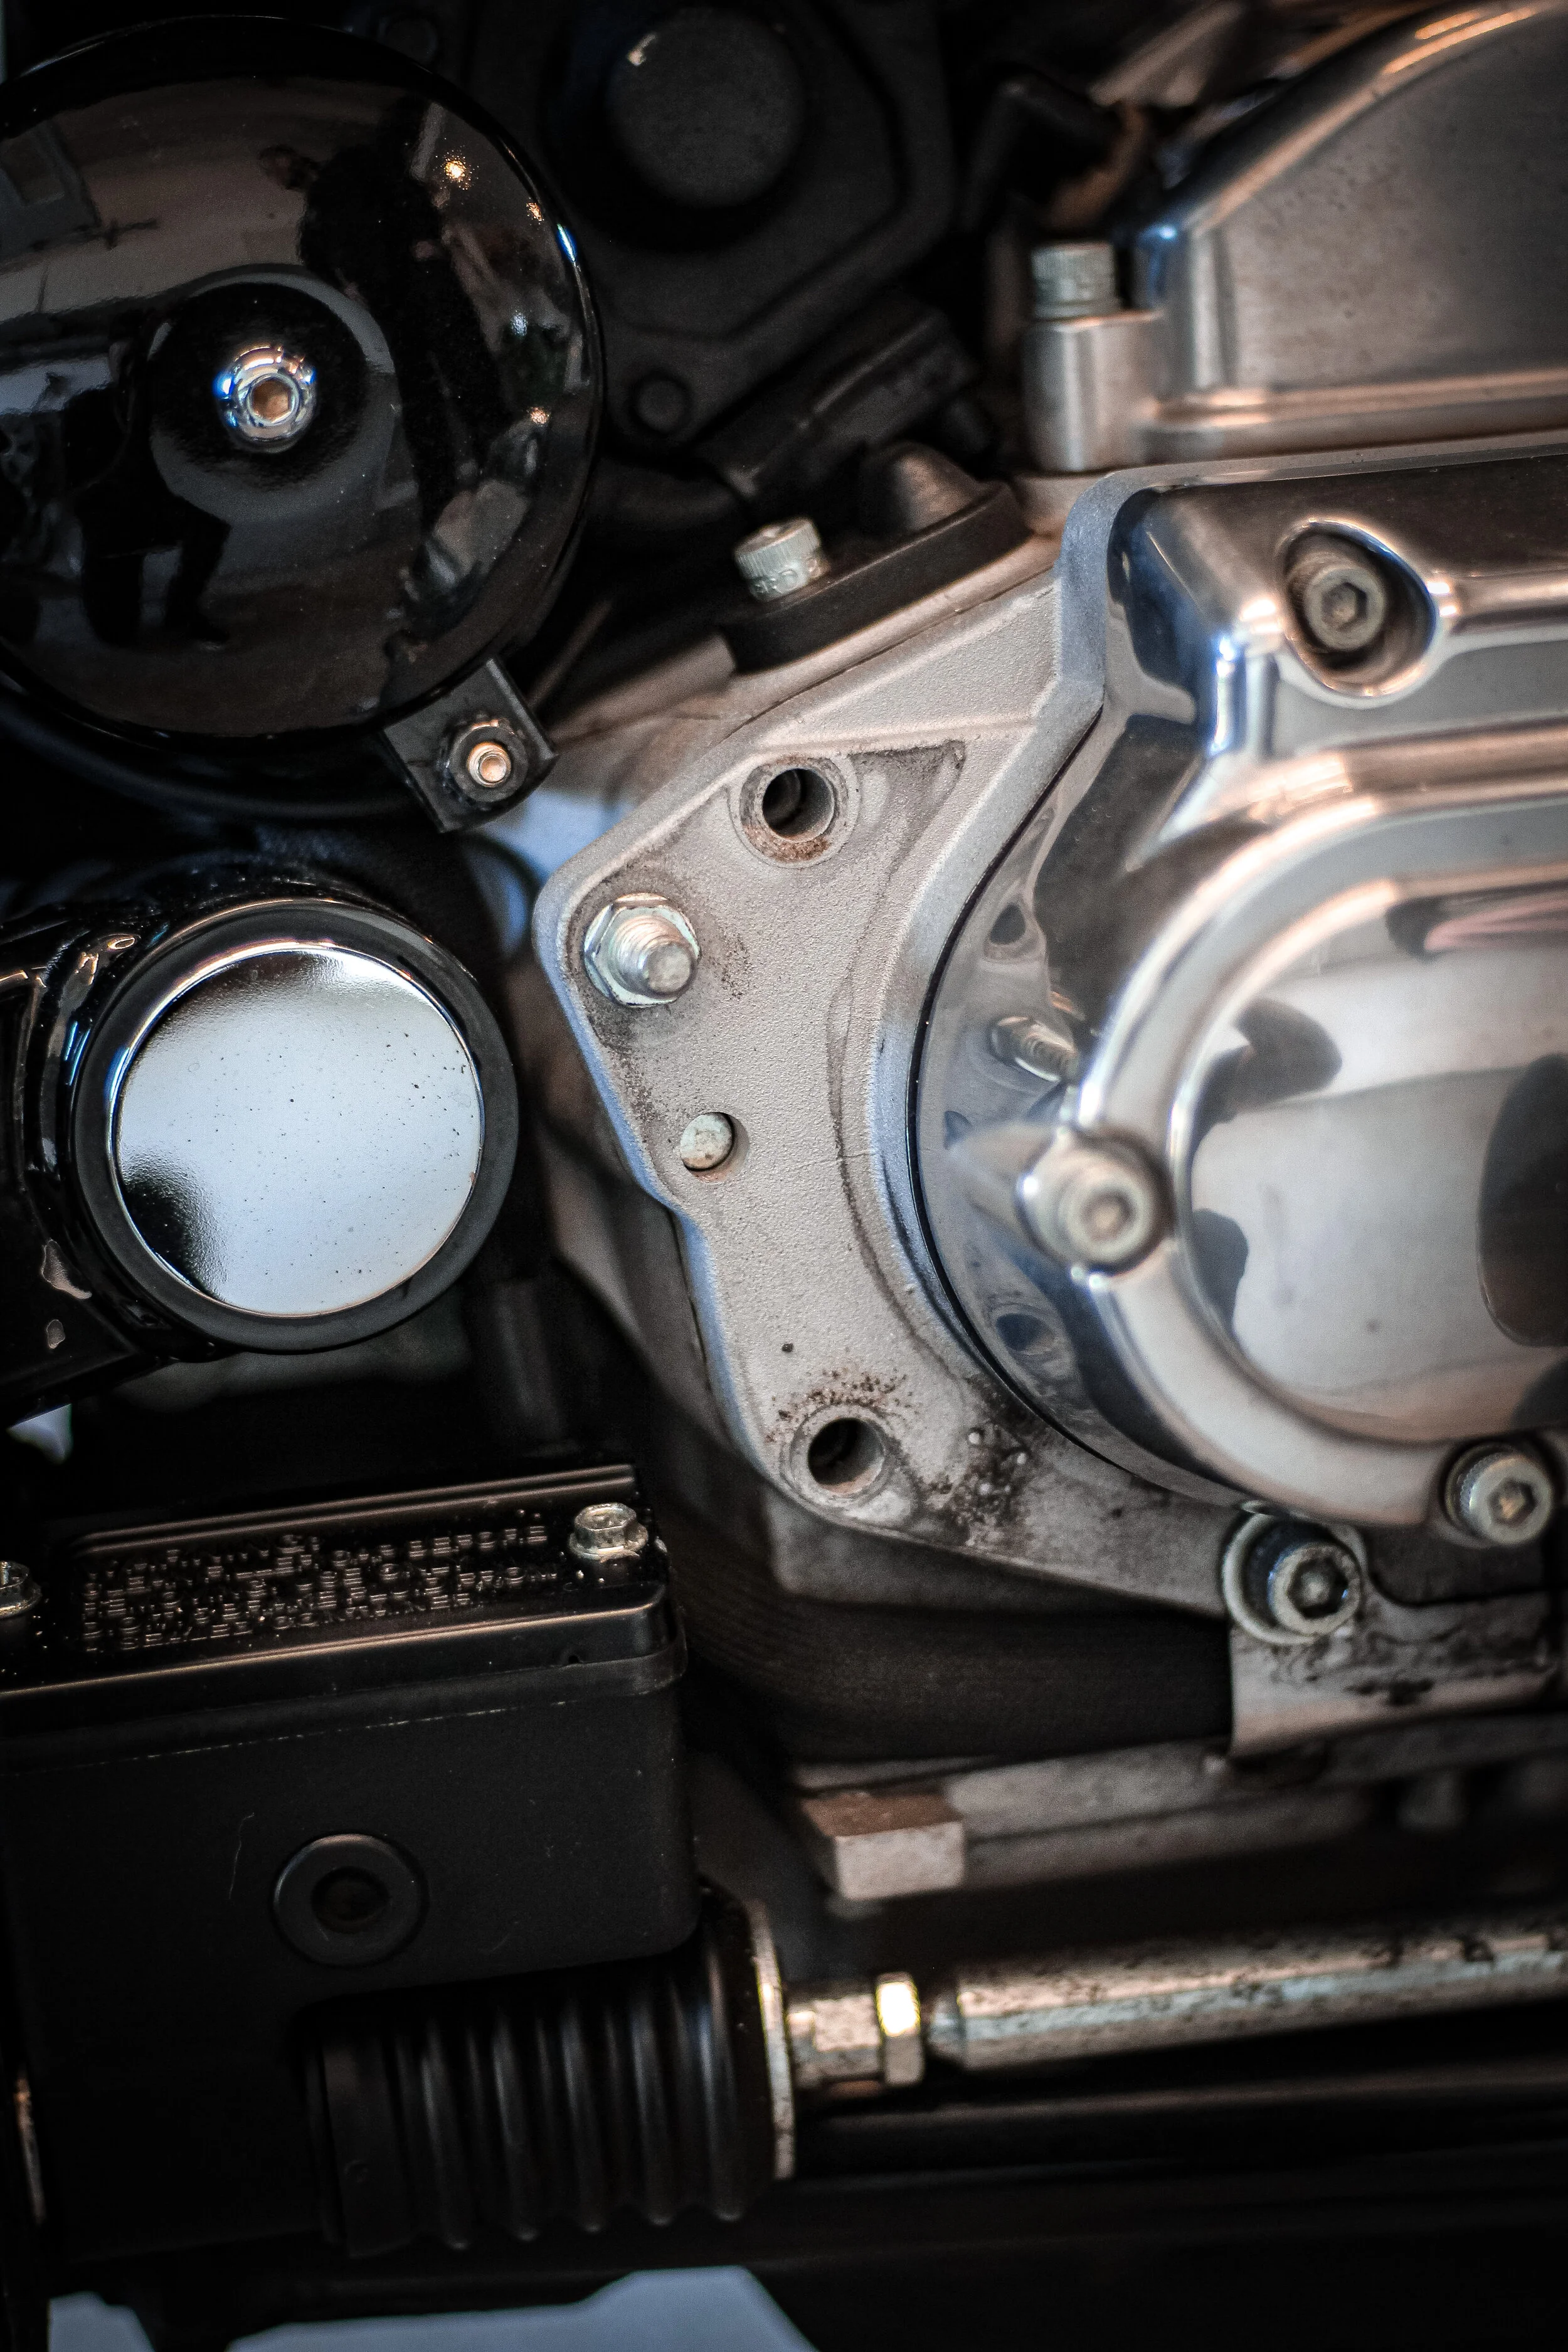
GASKET
You NEED to replace your gasket with the one we give in the kit as they are not the same type.
Take a 90 degree pick
Pull out the old gasket
Clean the gasket area

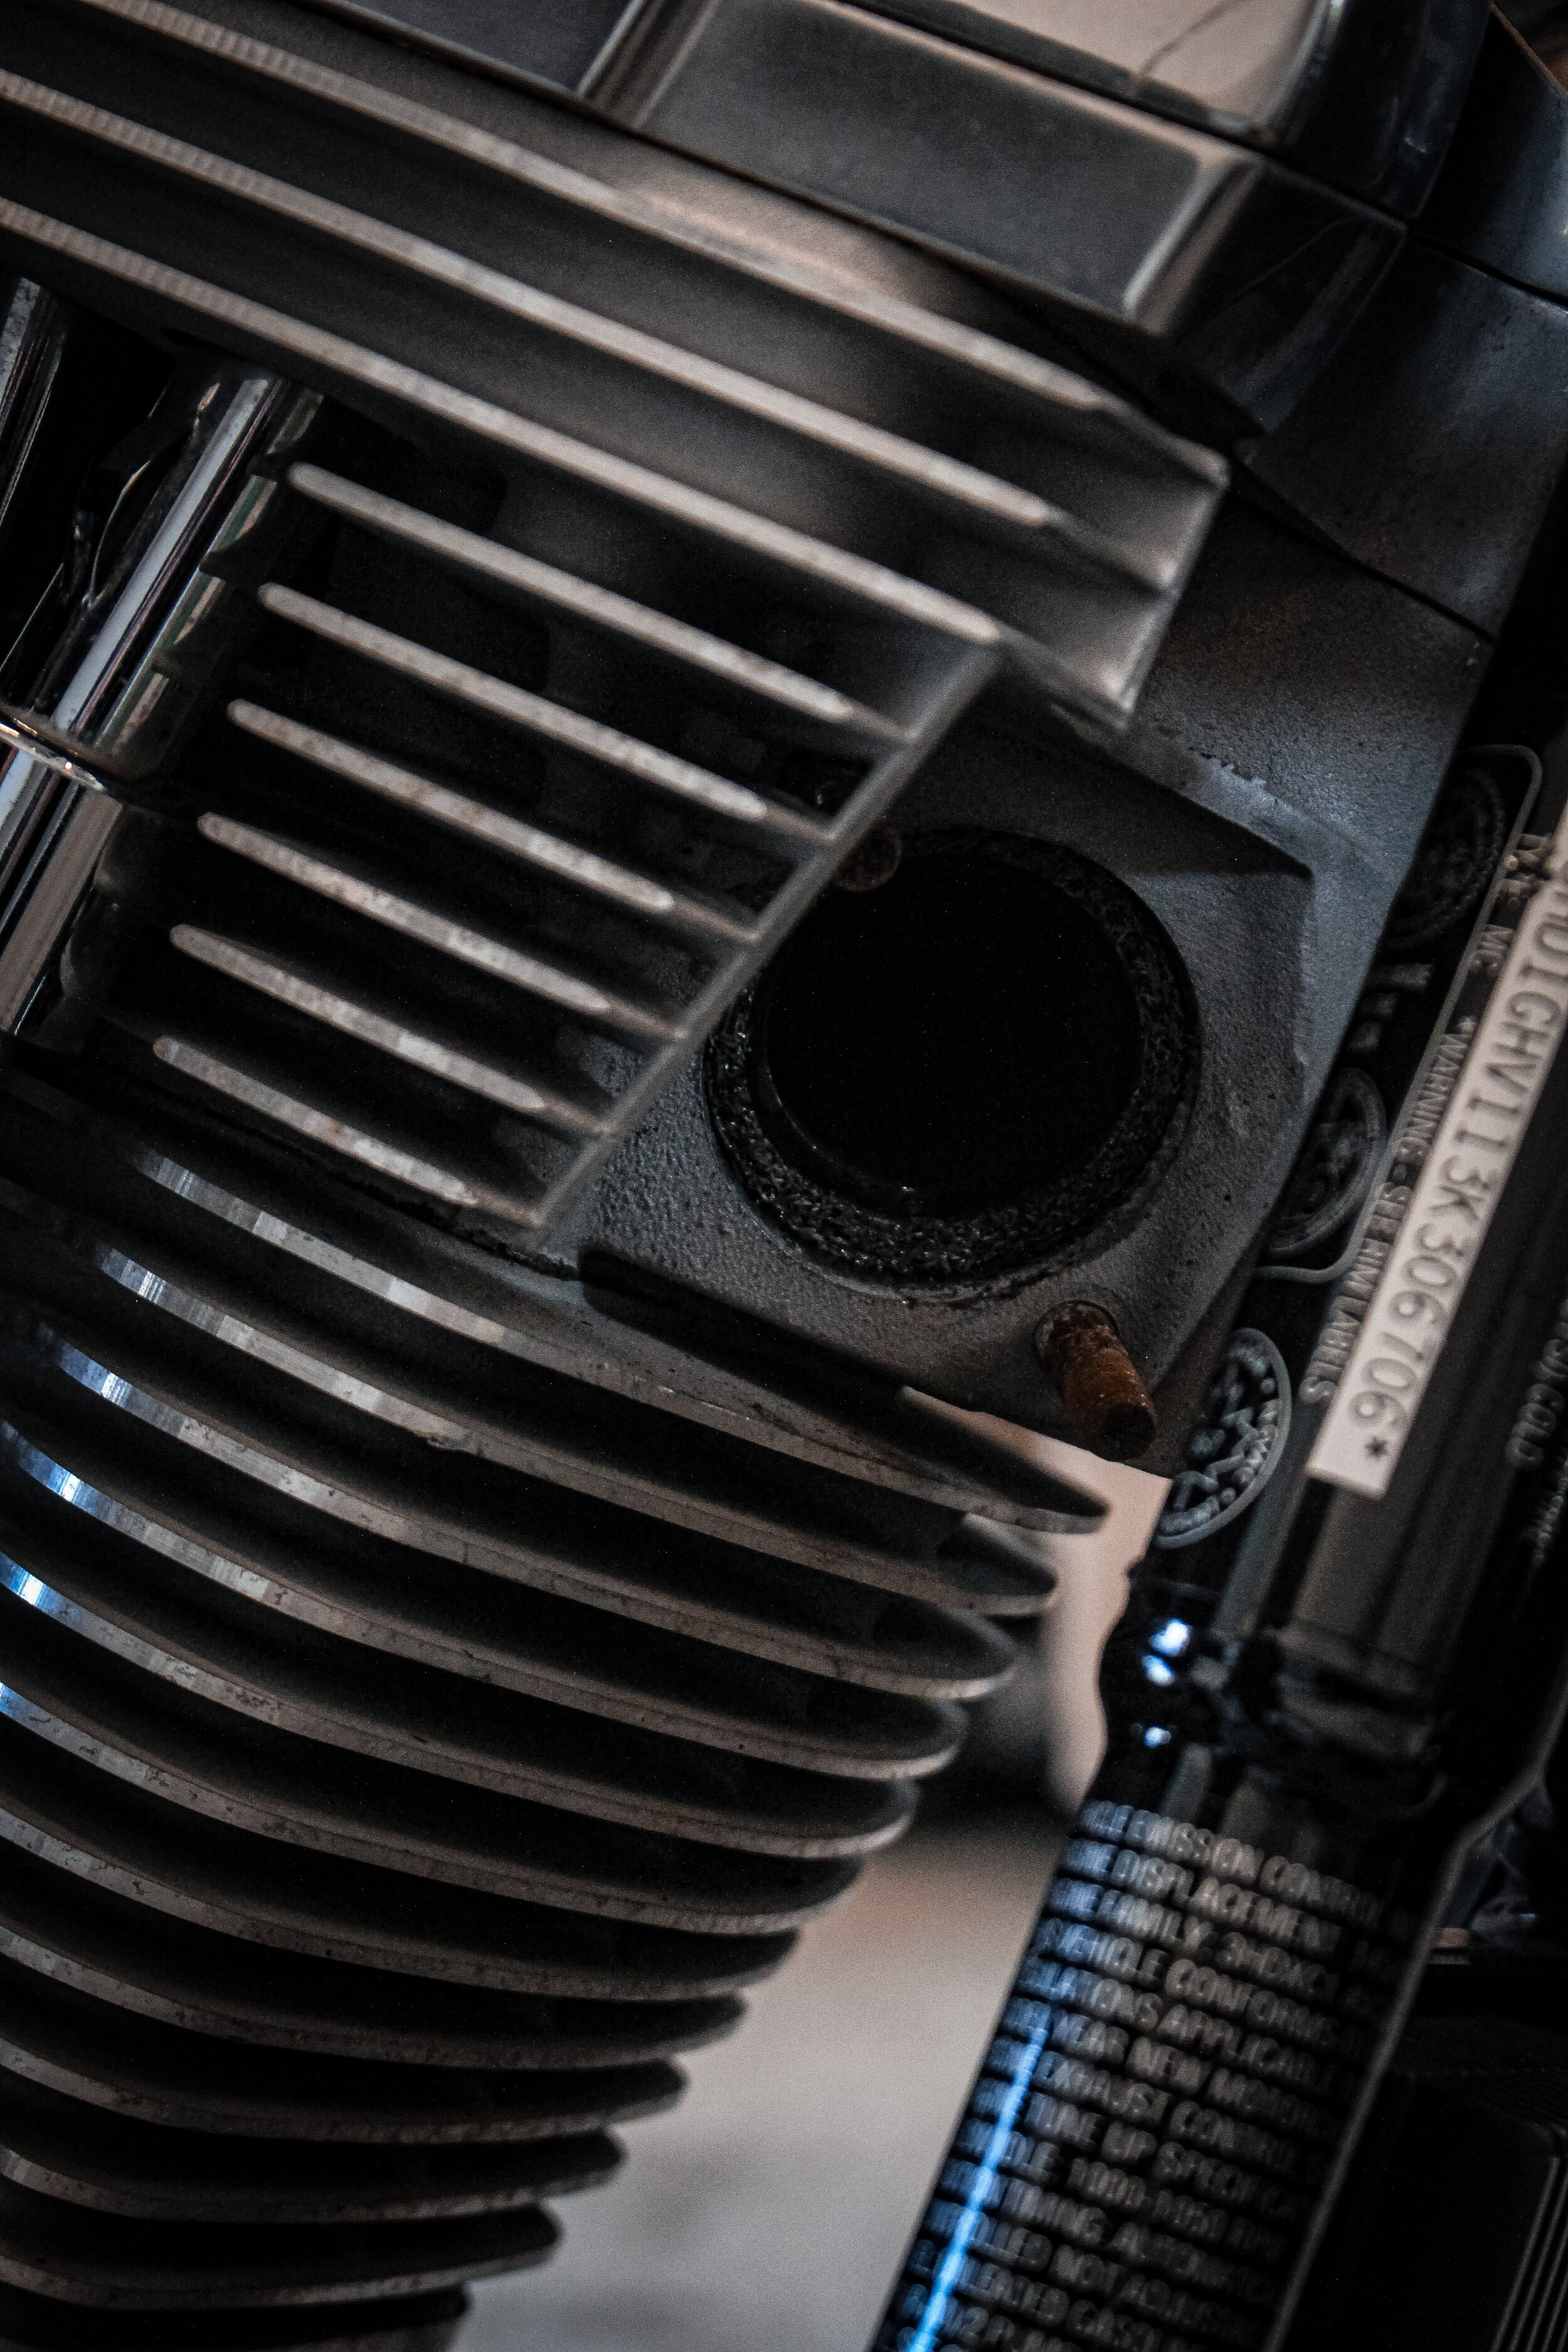
Carefully install the new gasket. yes, we know its a tight fit
Make sure it is evenly flat in place
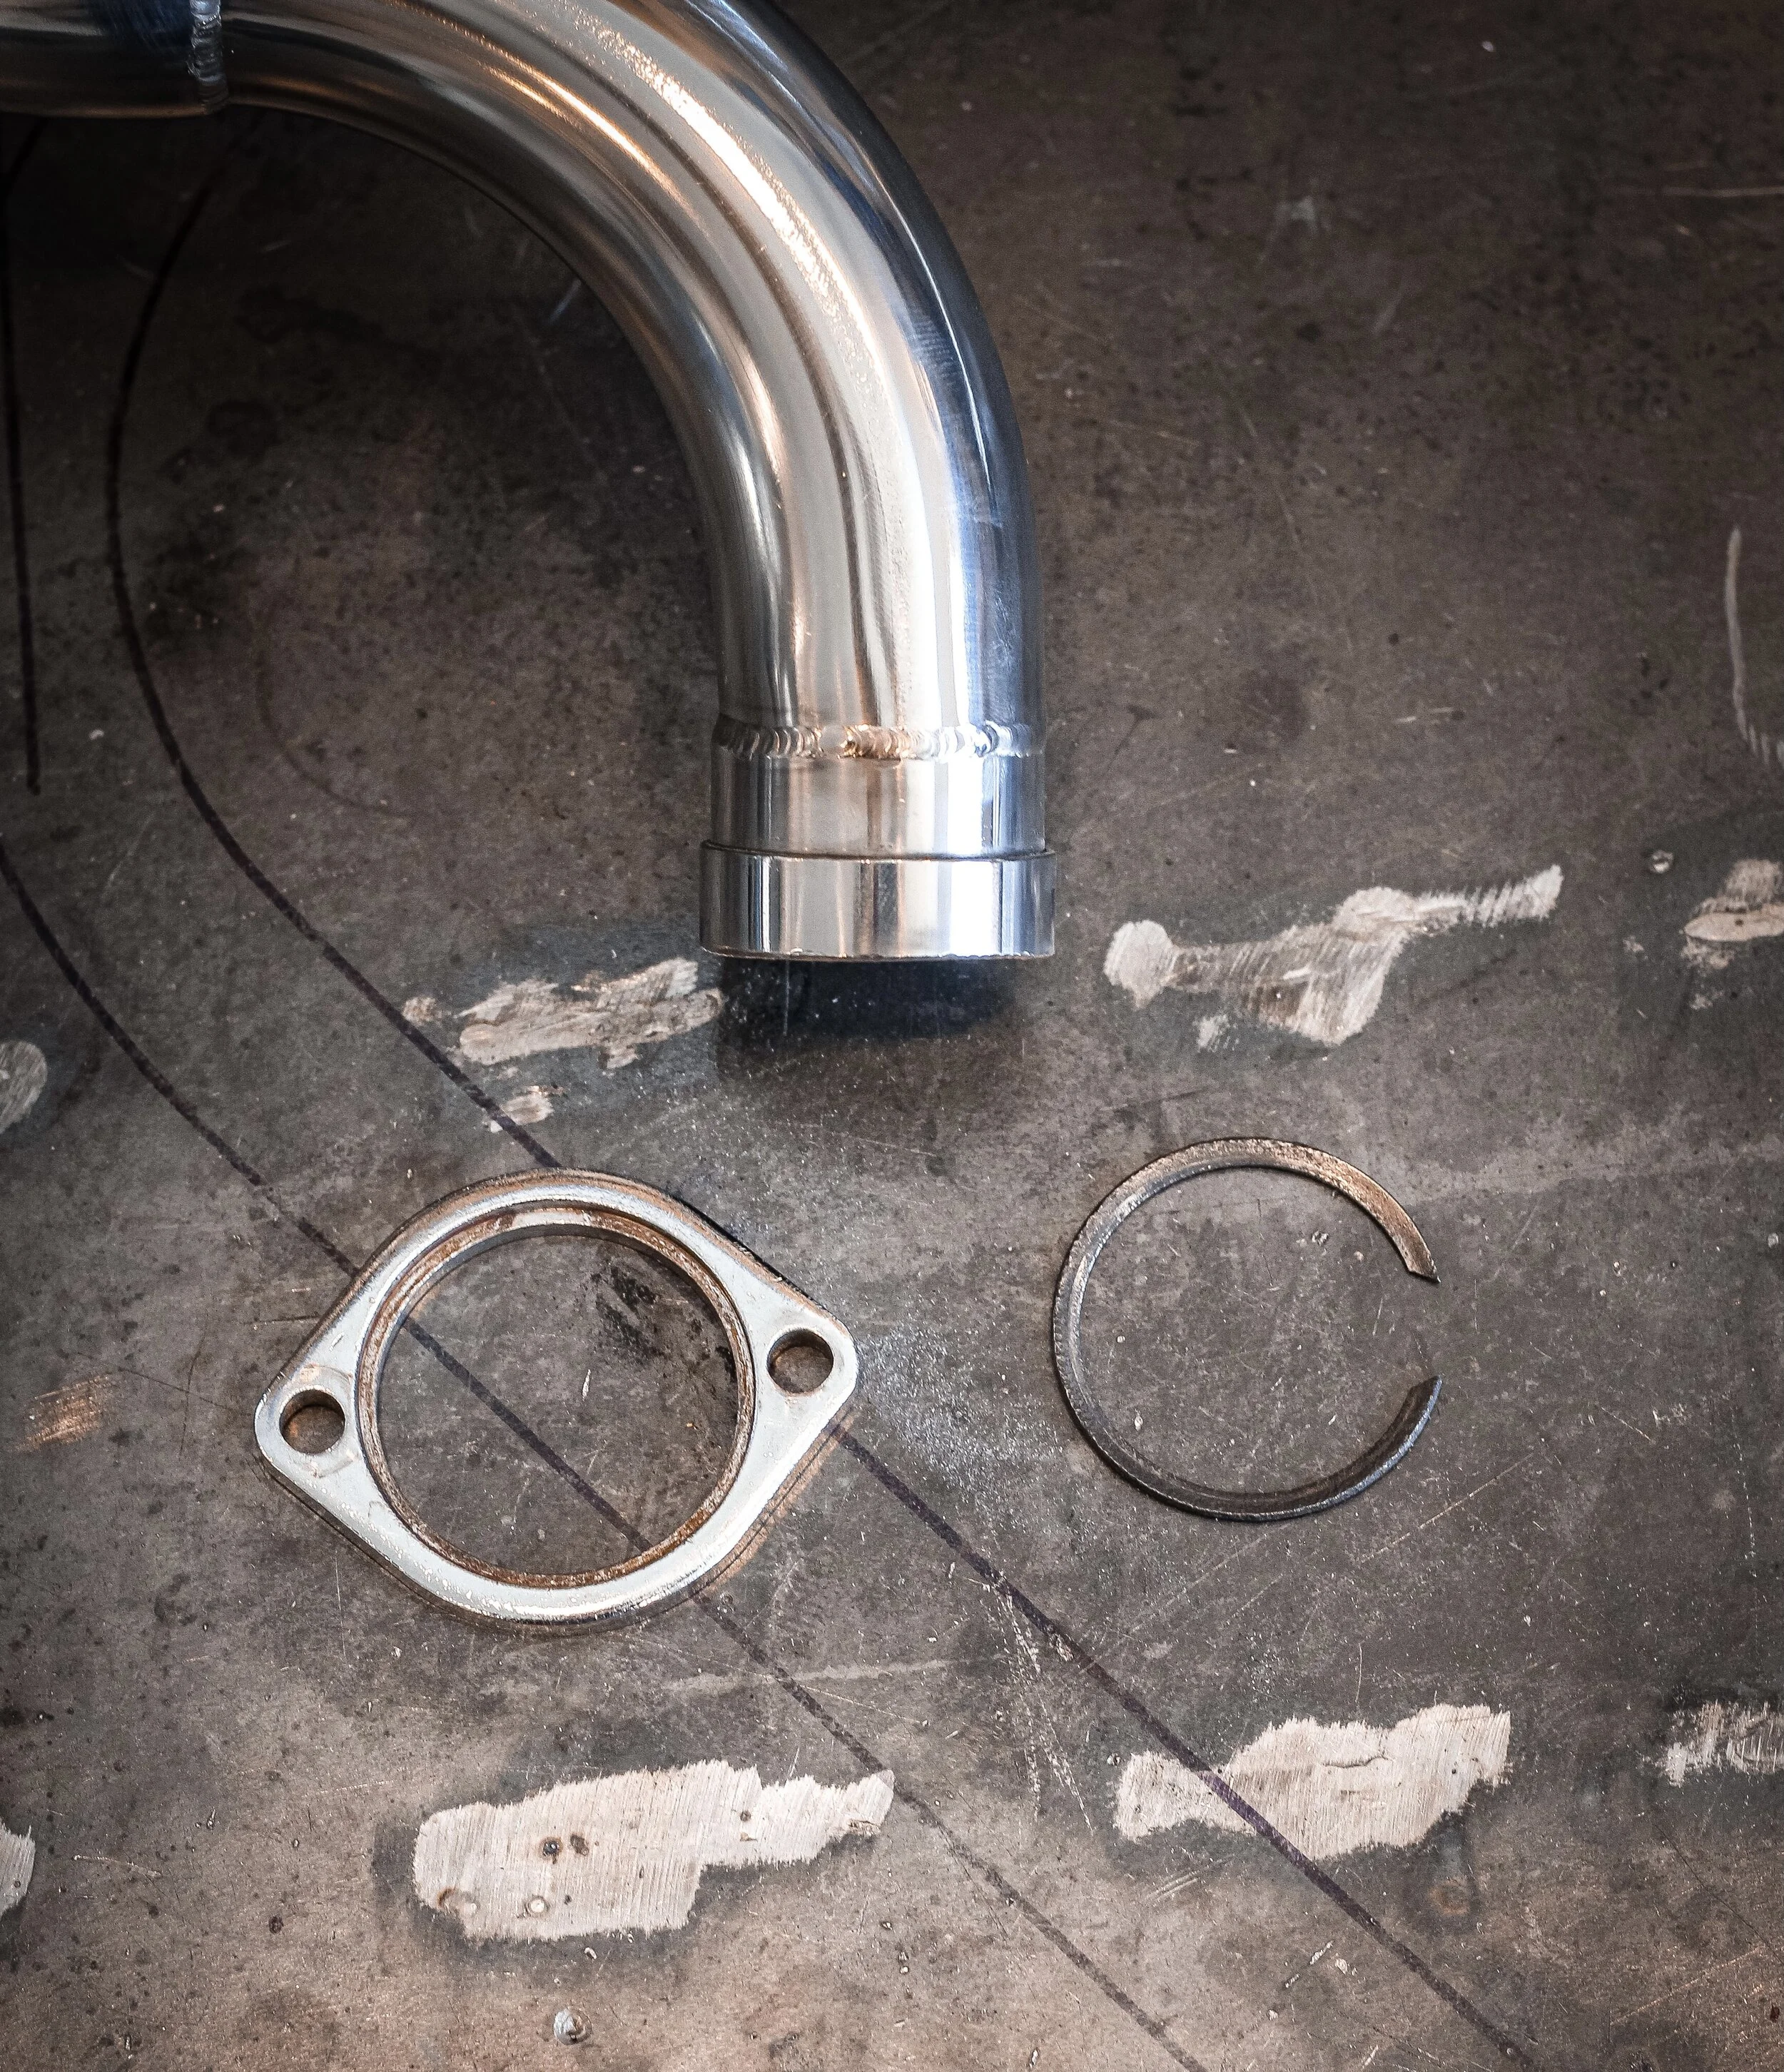
EXHAUST FLANGE
Take of the c-clip of your existent exhaust system to remove the exhaust flange
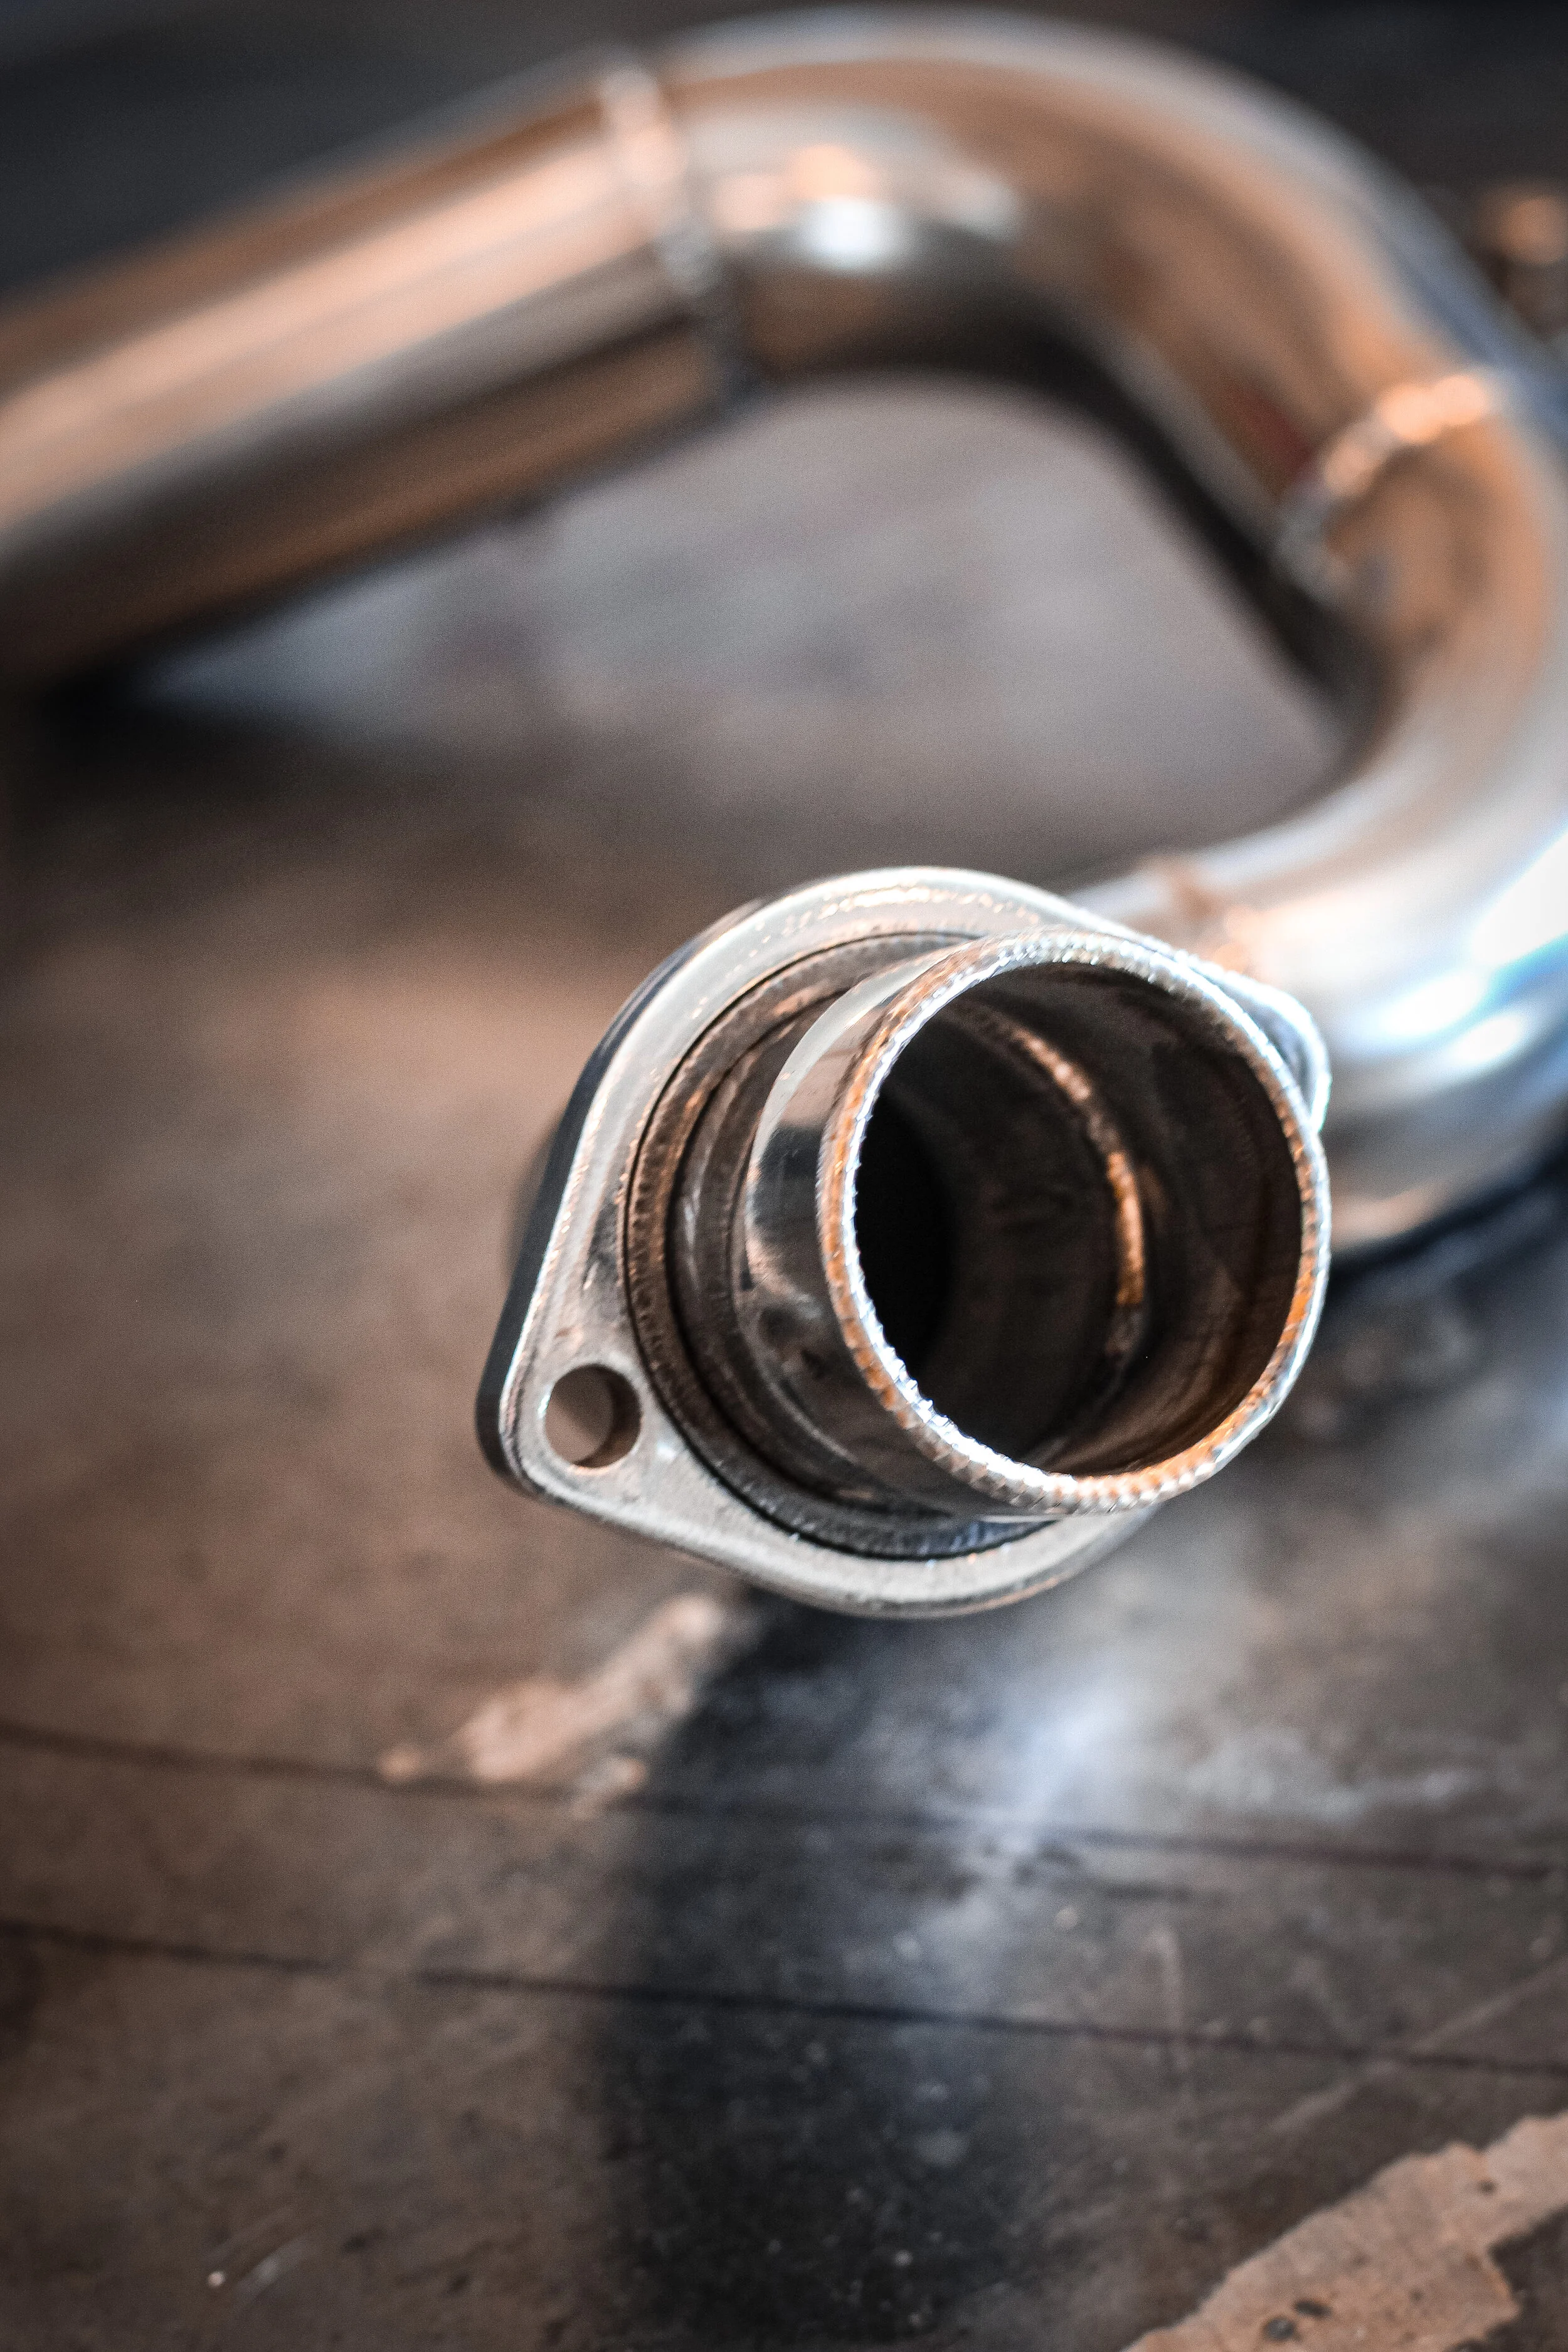
Install flange first on the new headers and put back the c-clip
Make sure the c-clip fit deep down the exhaust flange groove
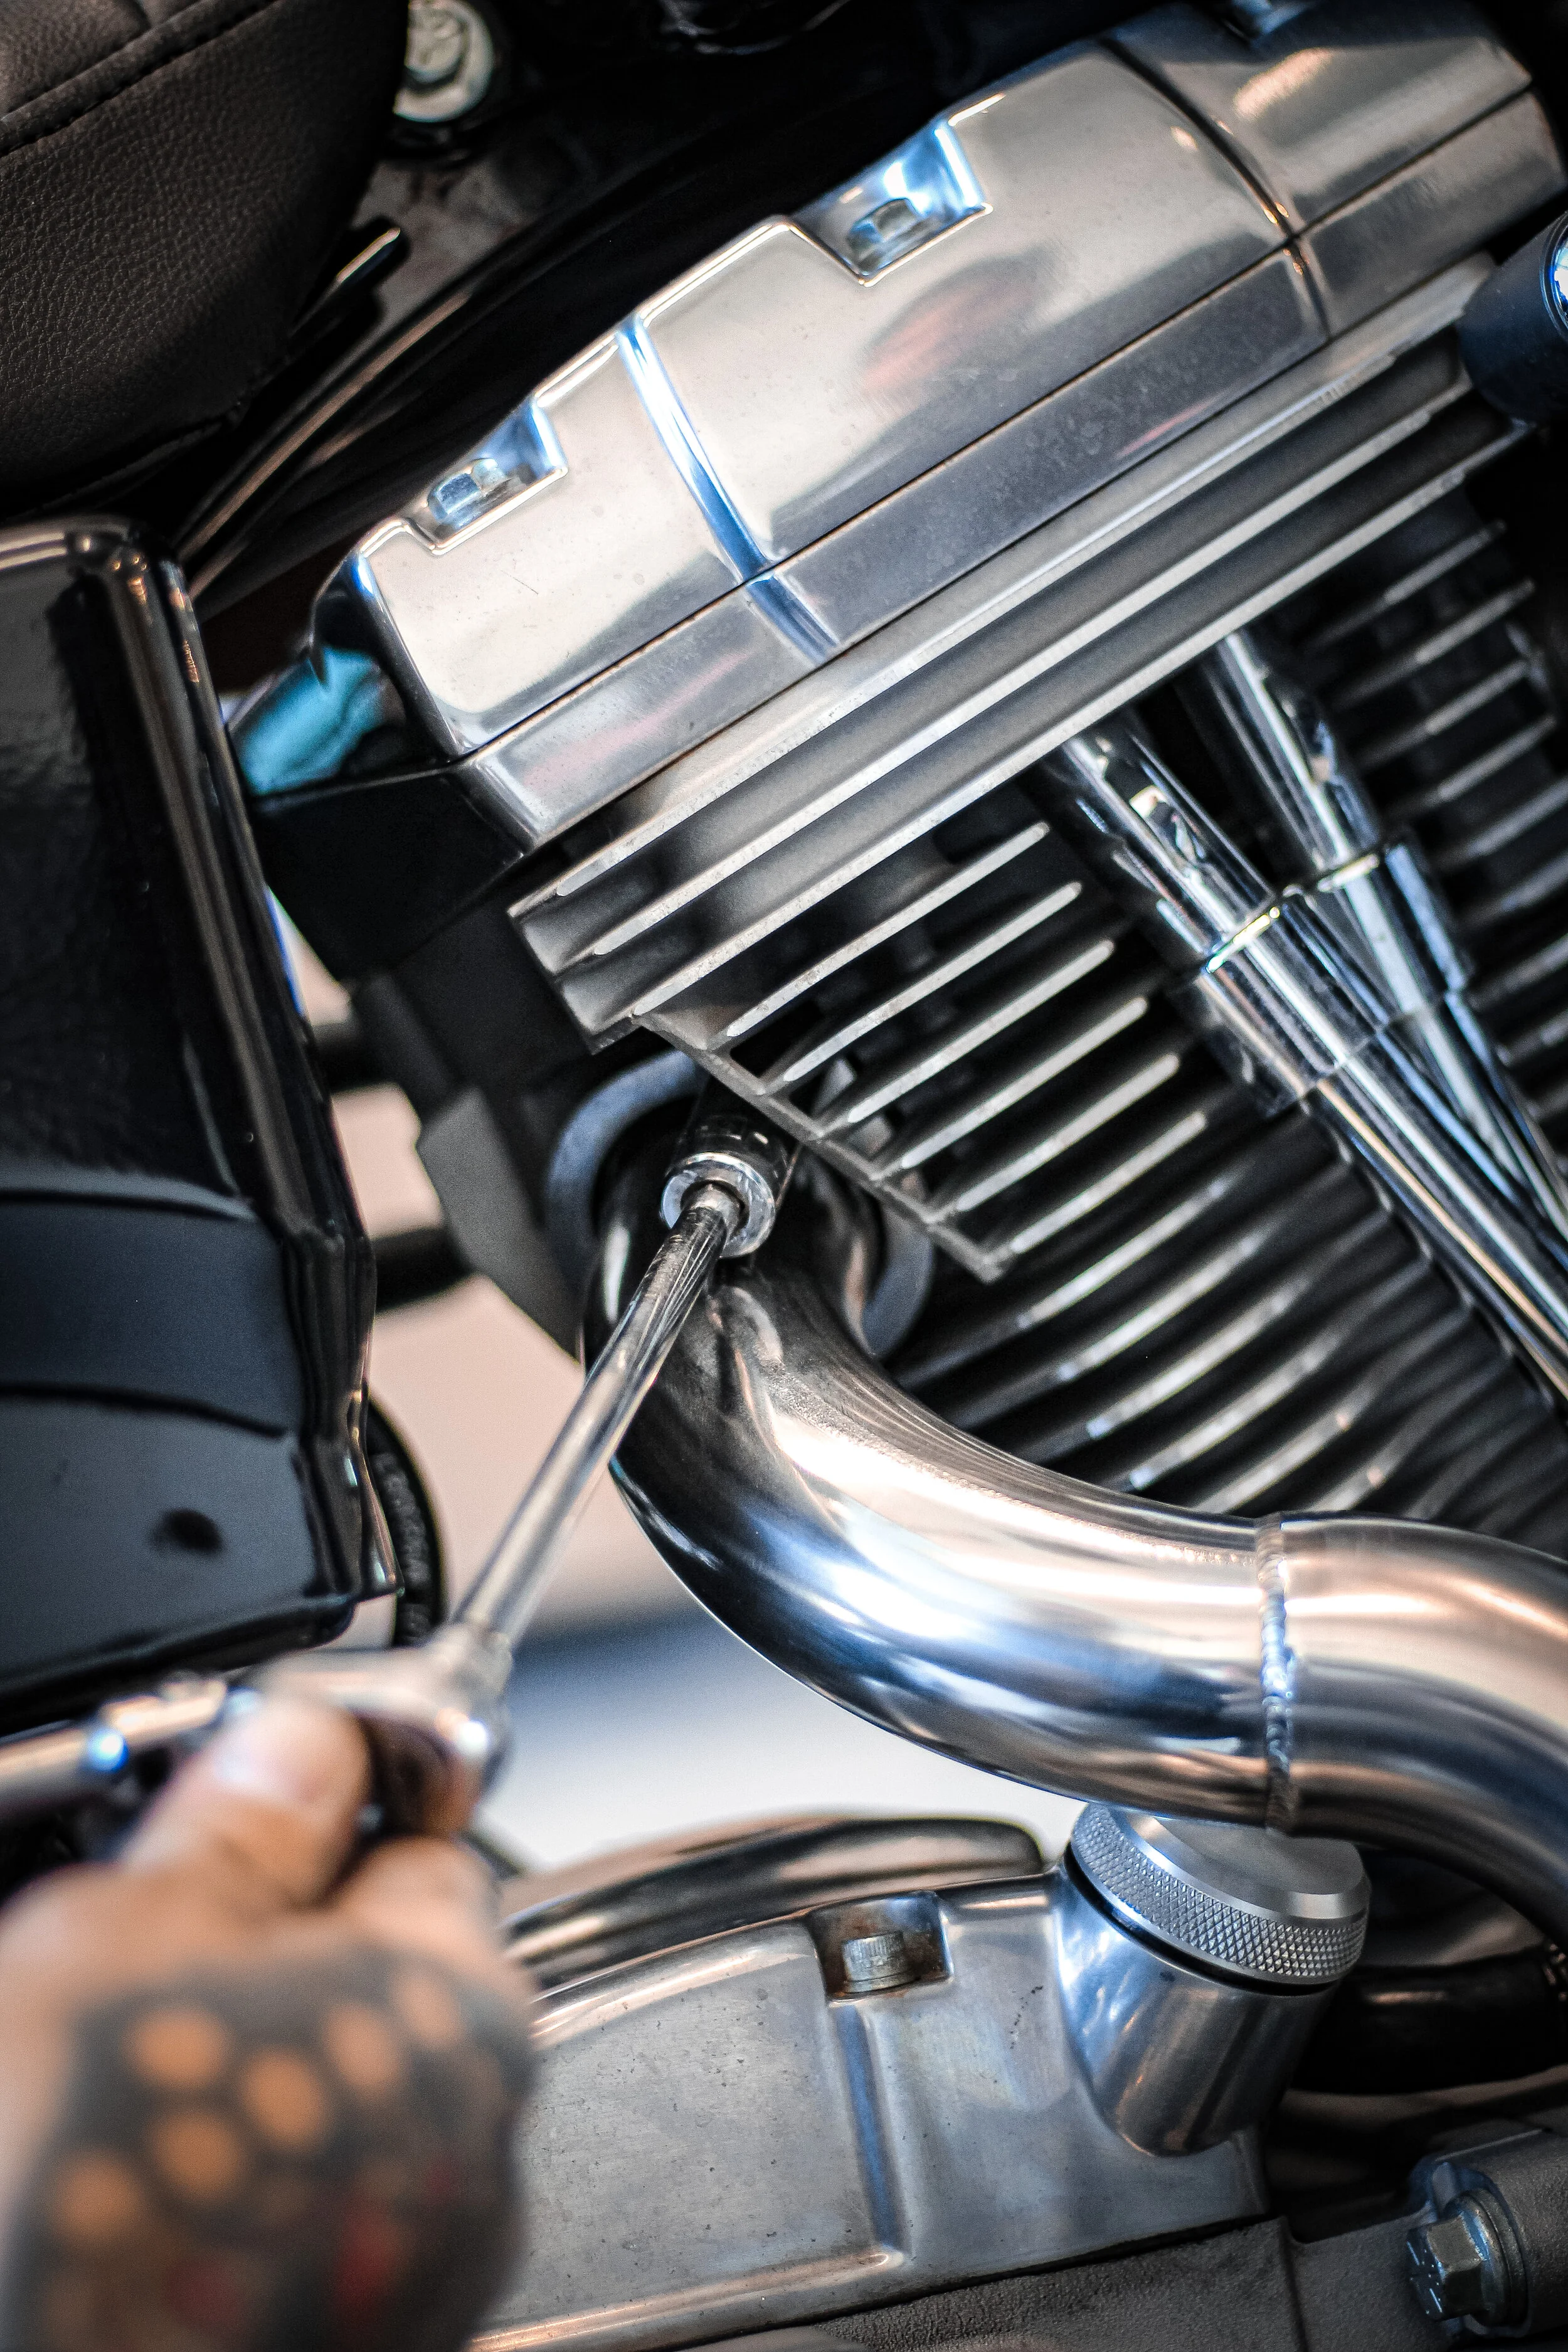
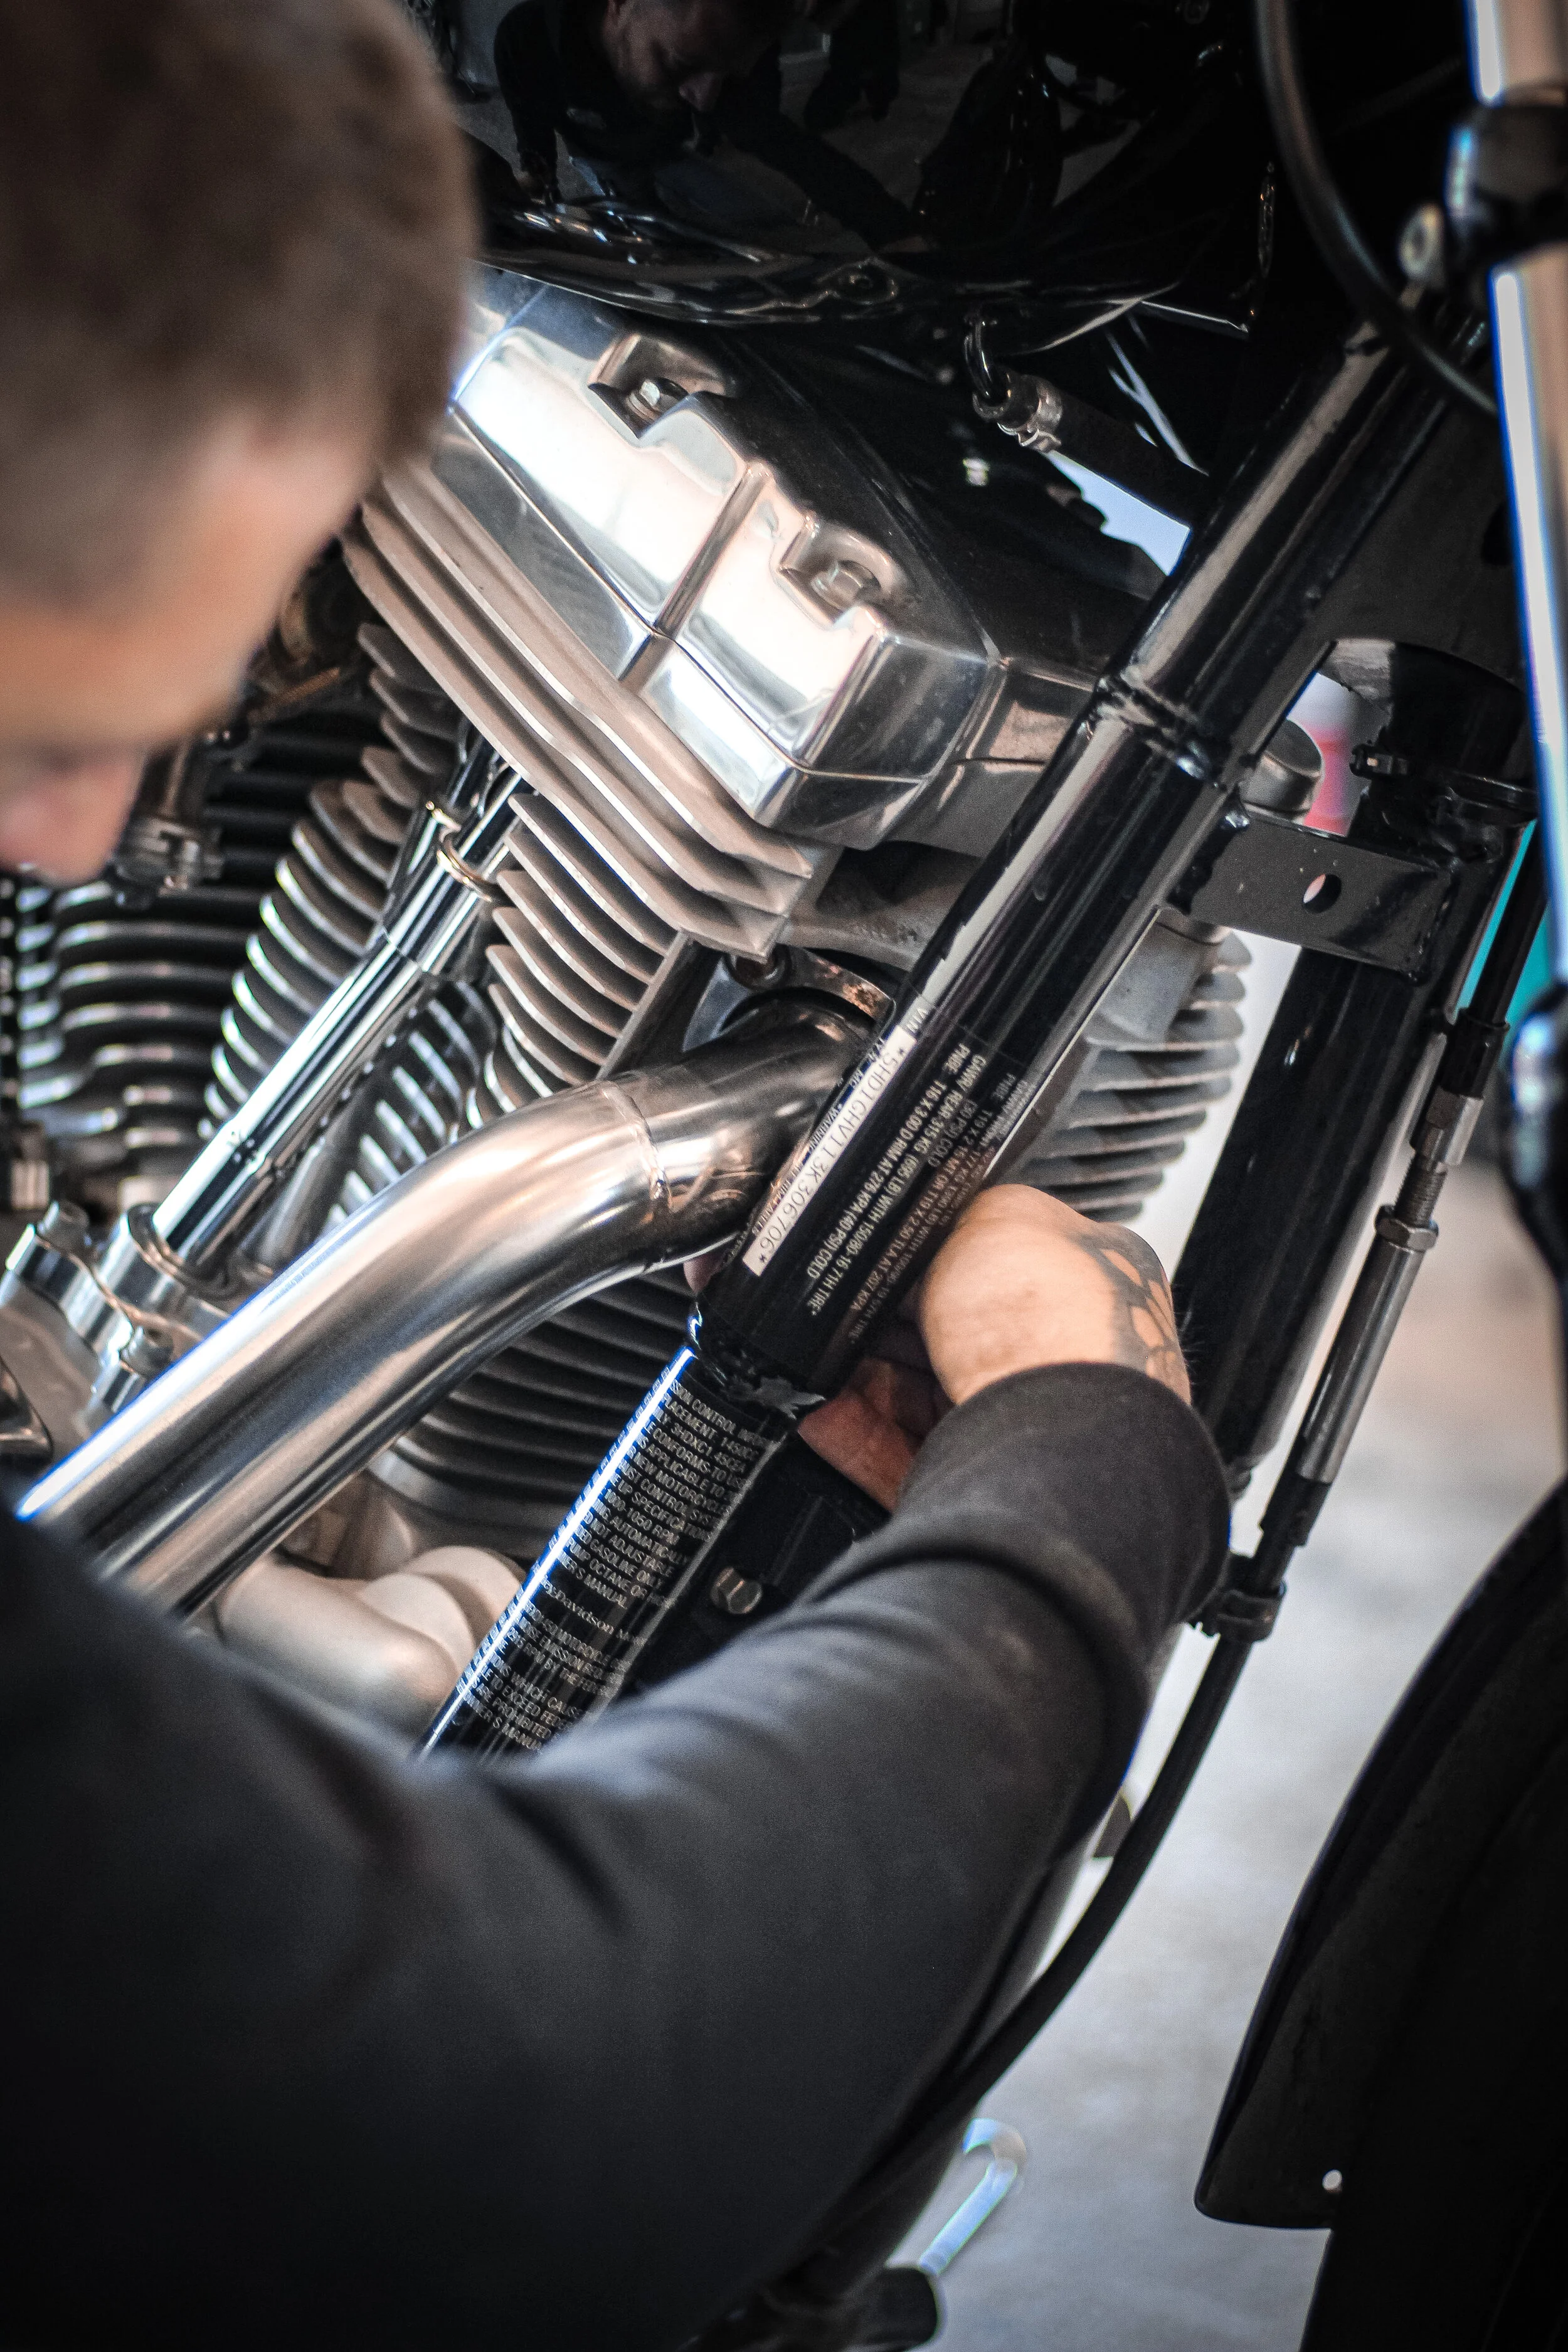
headers install
Install both headers in place and screw the nuts hand tight only
Use a 1/2 size box to help you reach the nuts
exhaust bracket
Remove these 2 transmission bolts
Install the exhaust bracket
Put the new bolts that we gave you with lockwasher
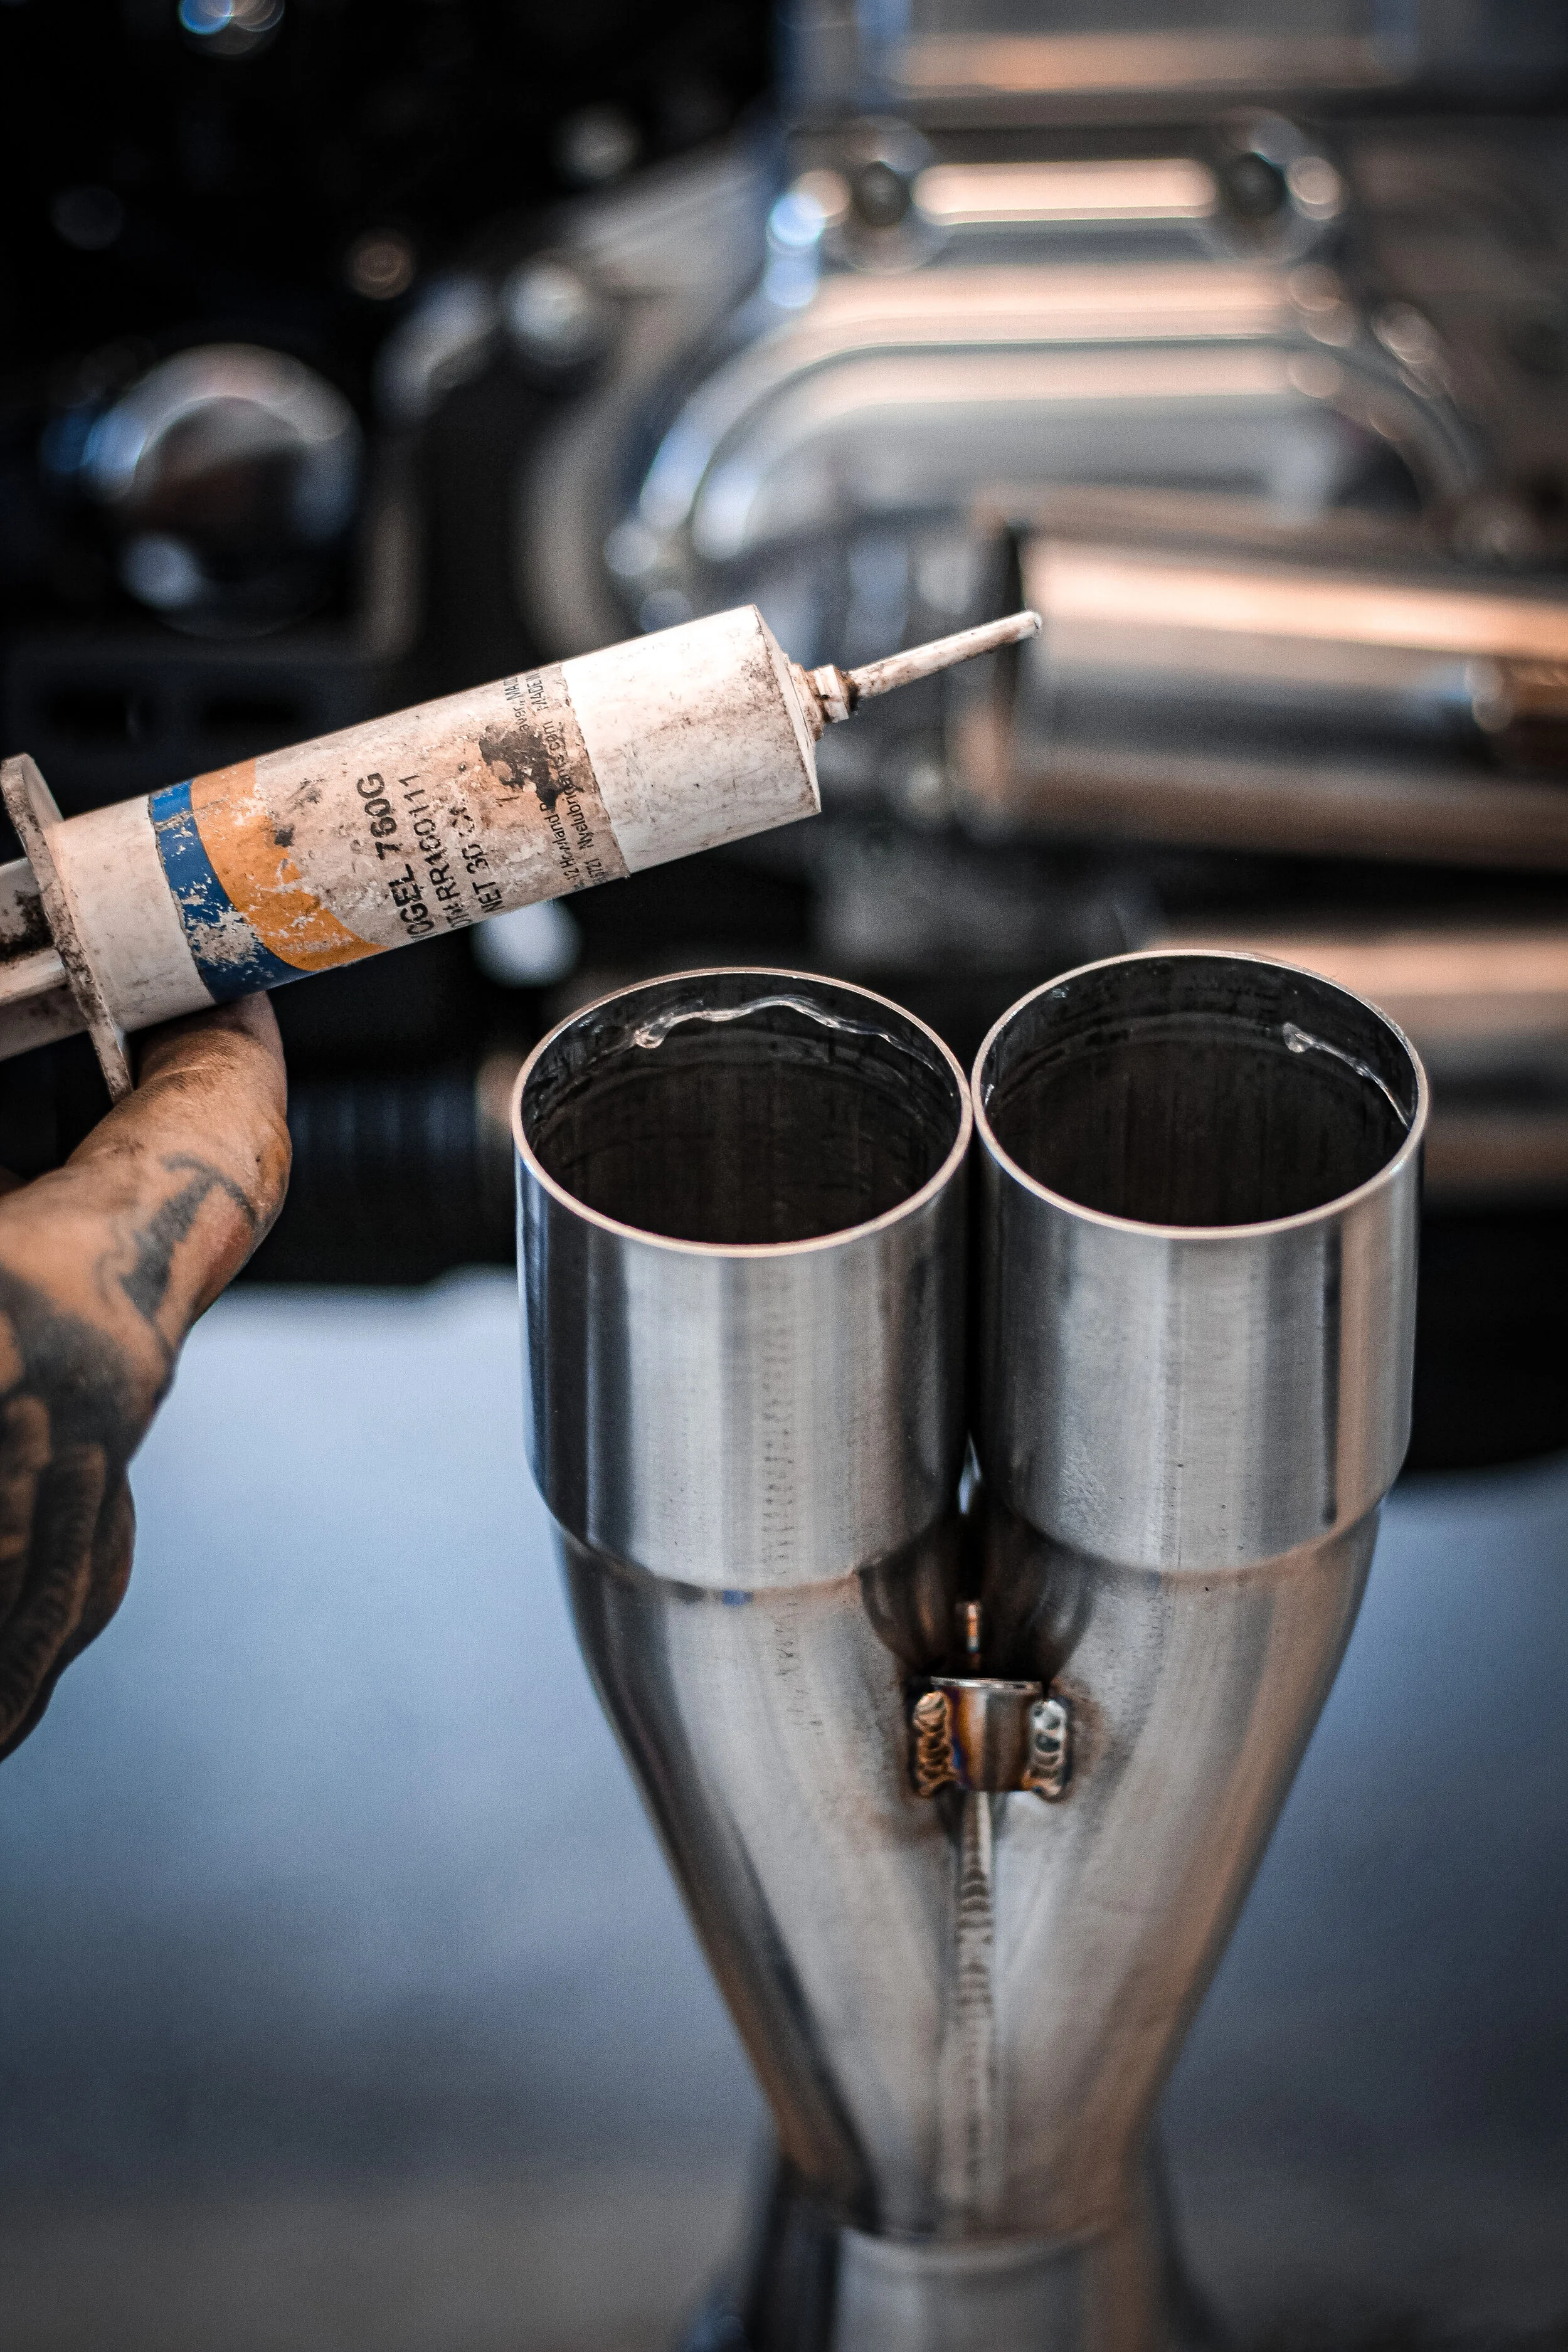
muffler install
Use a bit of synthetic grease to lubricate the collector section
Spread the grease with a brush or your finger
Slip the muffler onto both headers (that part could be difficult as the fit is really tight to prevent exhaust leak. patience is the key)
Make sure its all the way in by tapping the muffler with a rubber mallet soflty


mounting plate
Slip the mounting plate in the square behind the muffler
Make sure the bevel side of the plate it in front of the exhaust bracket
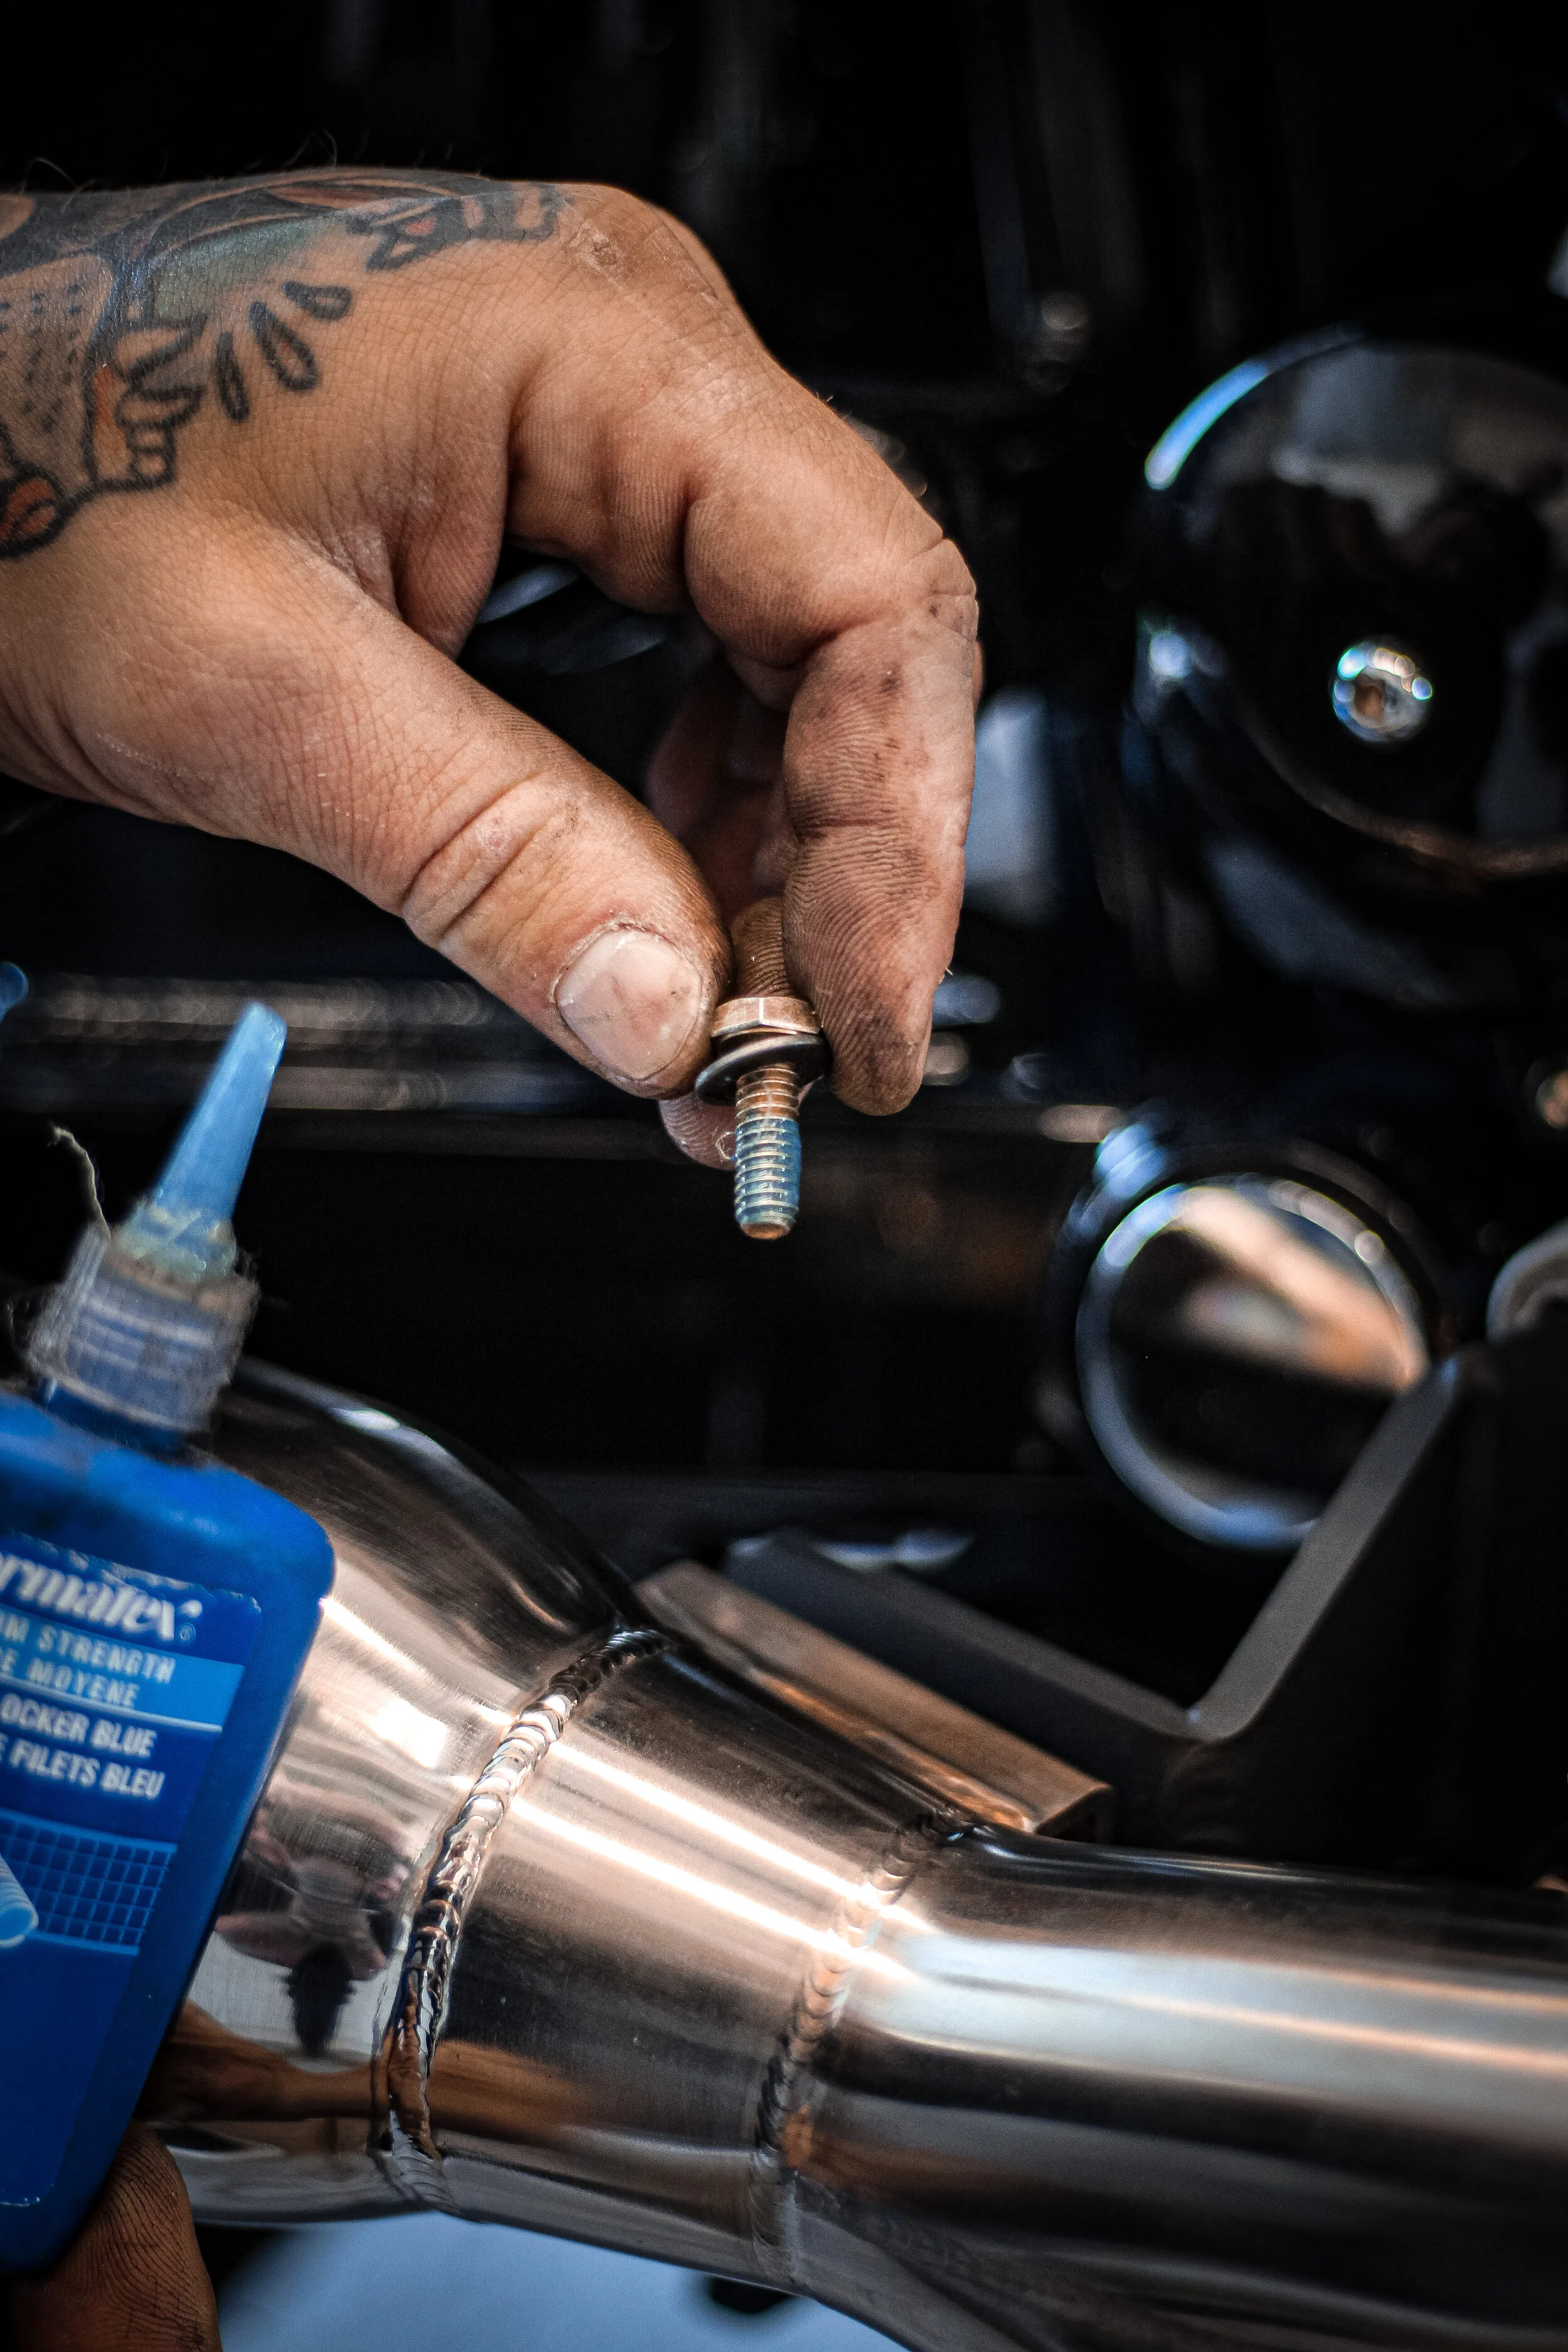
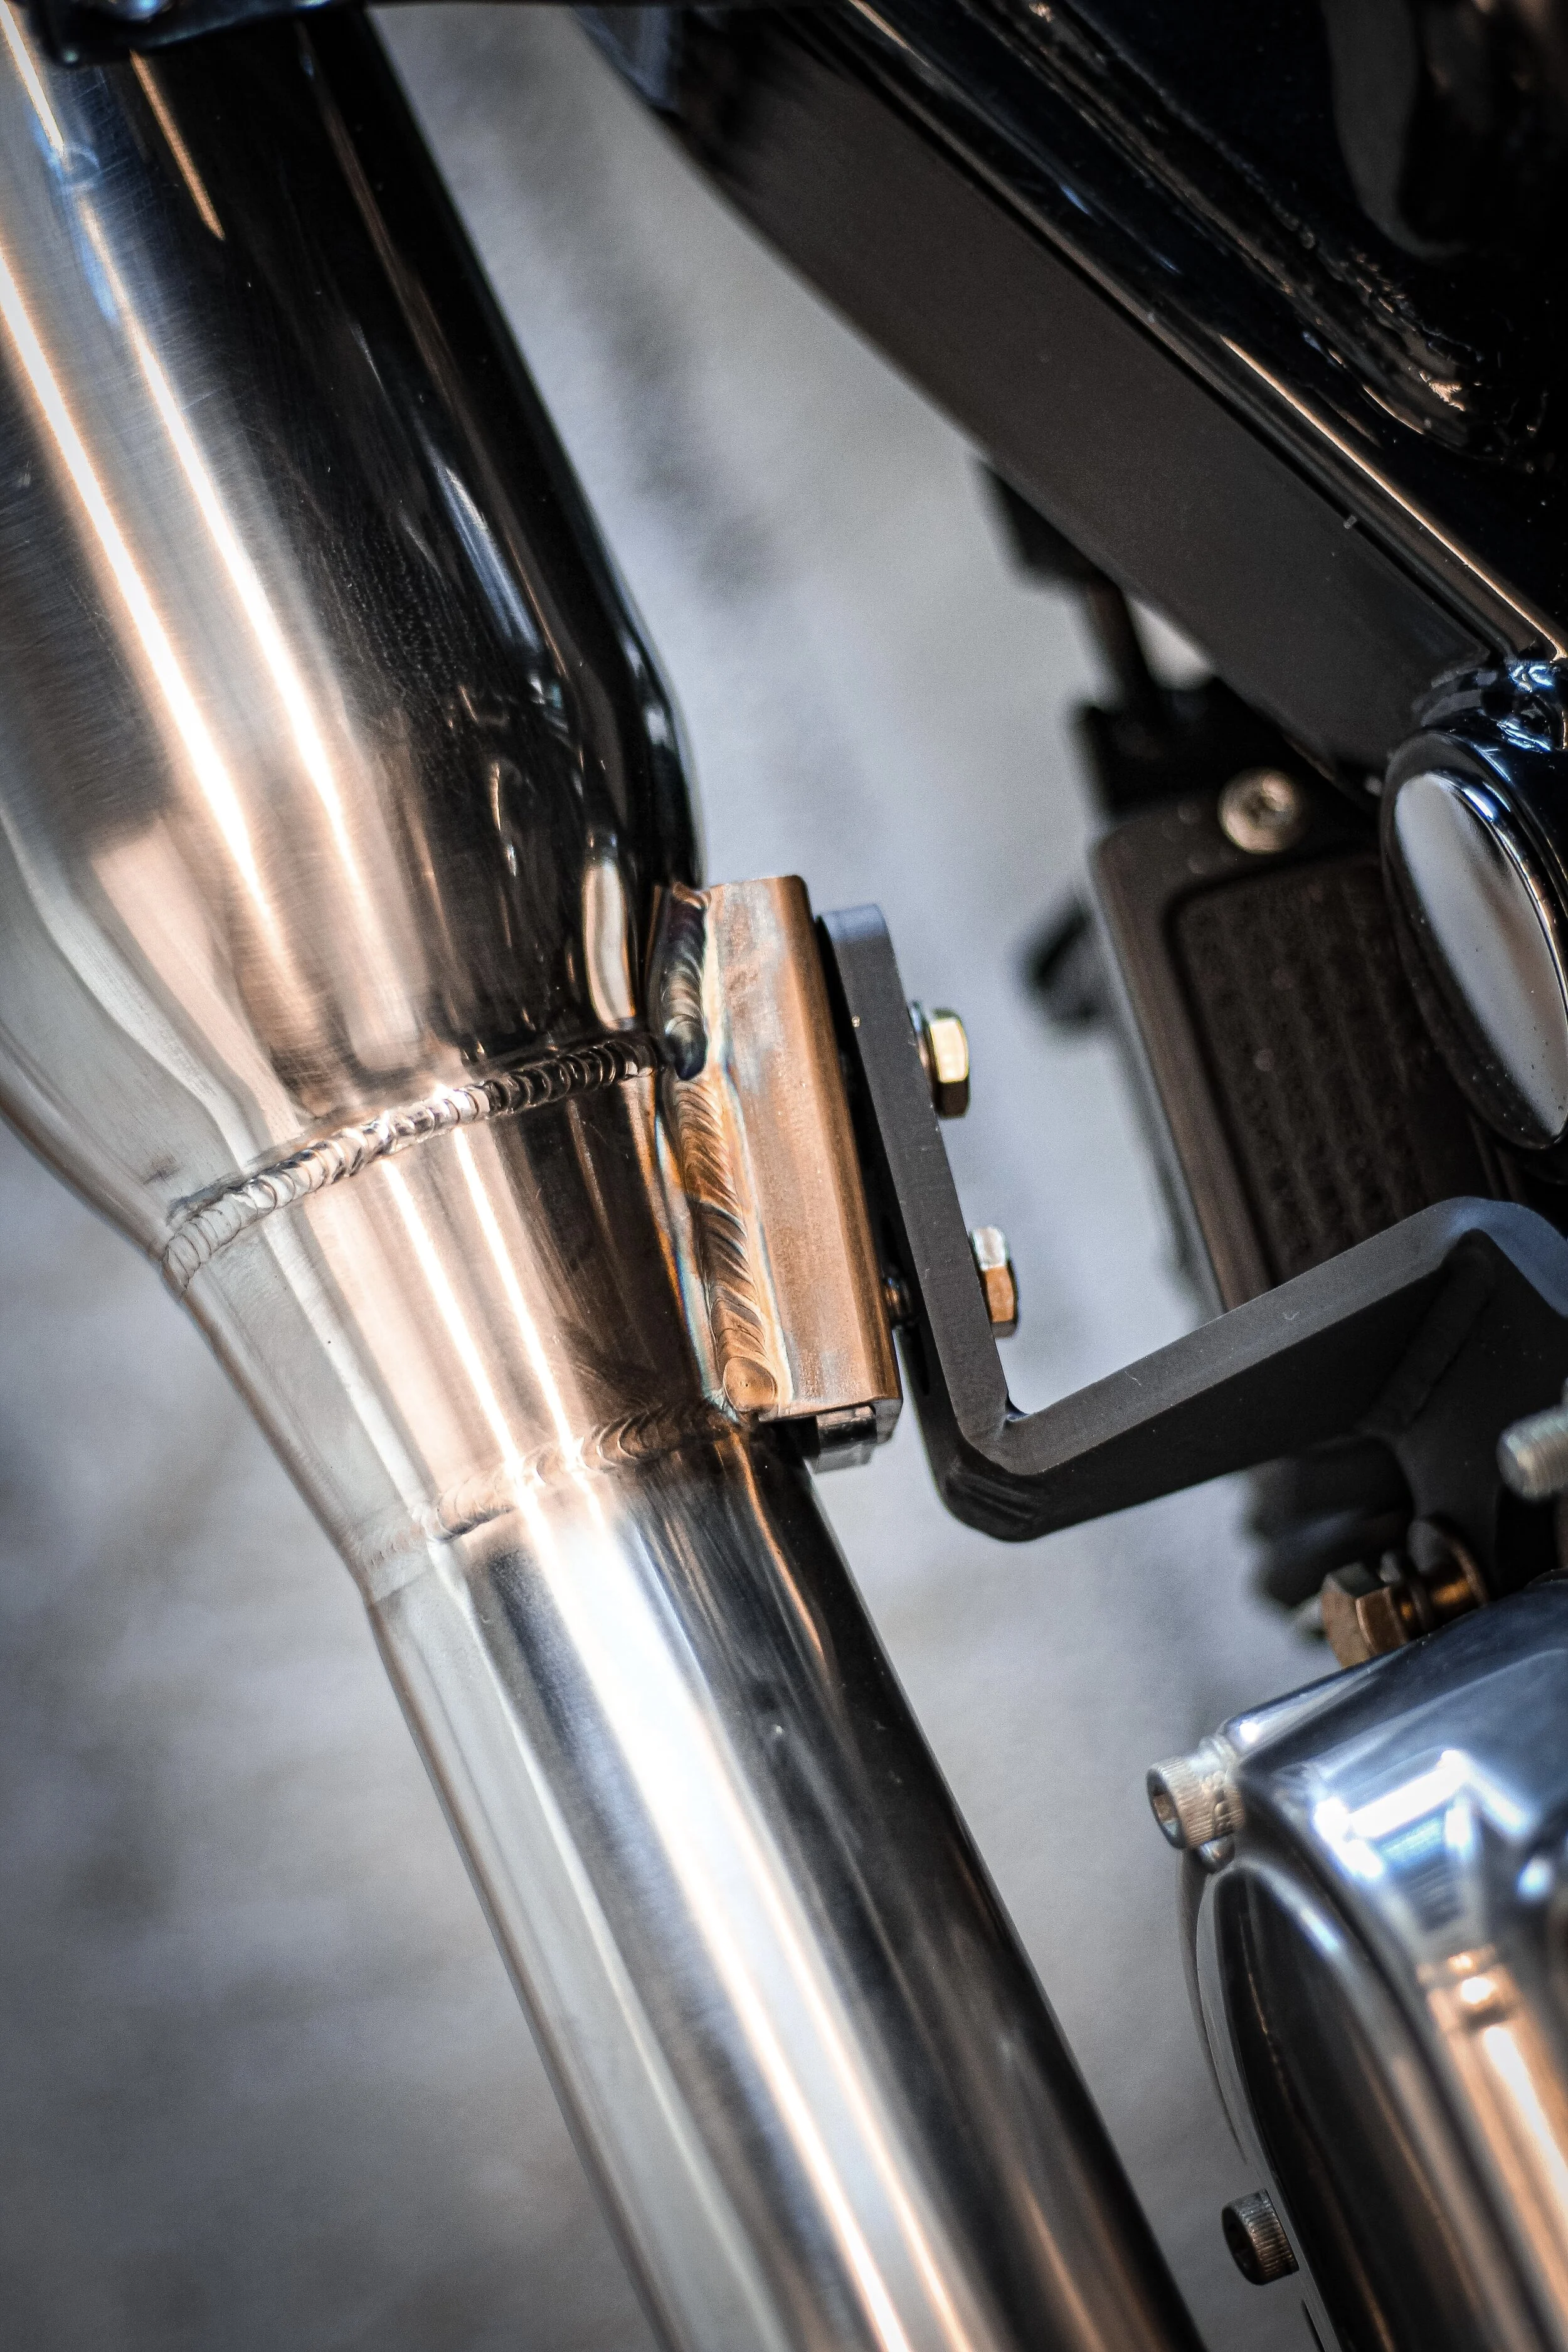
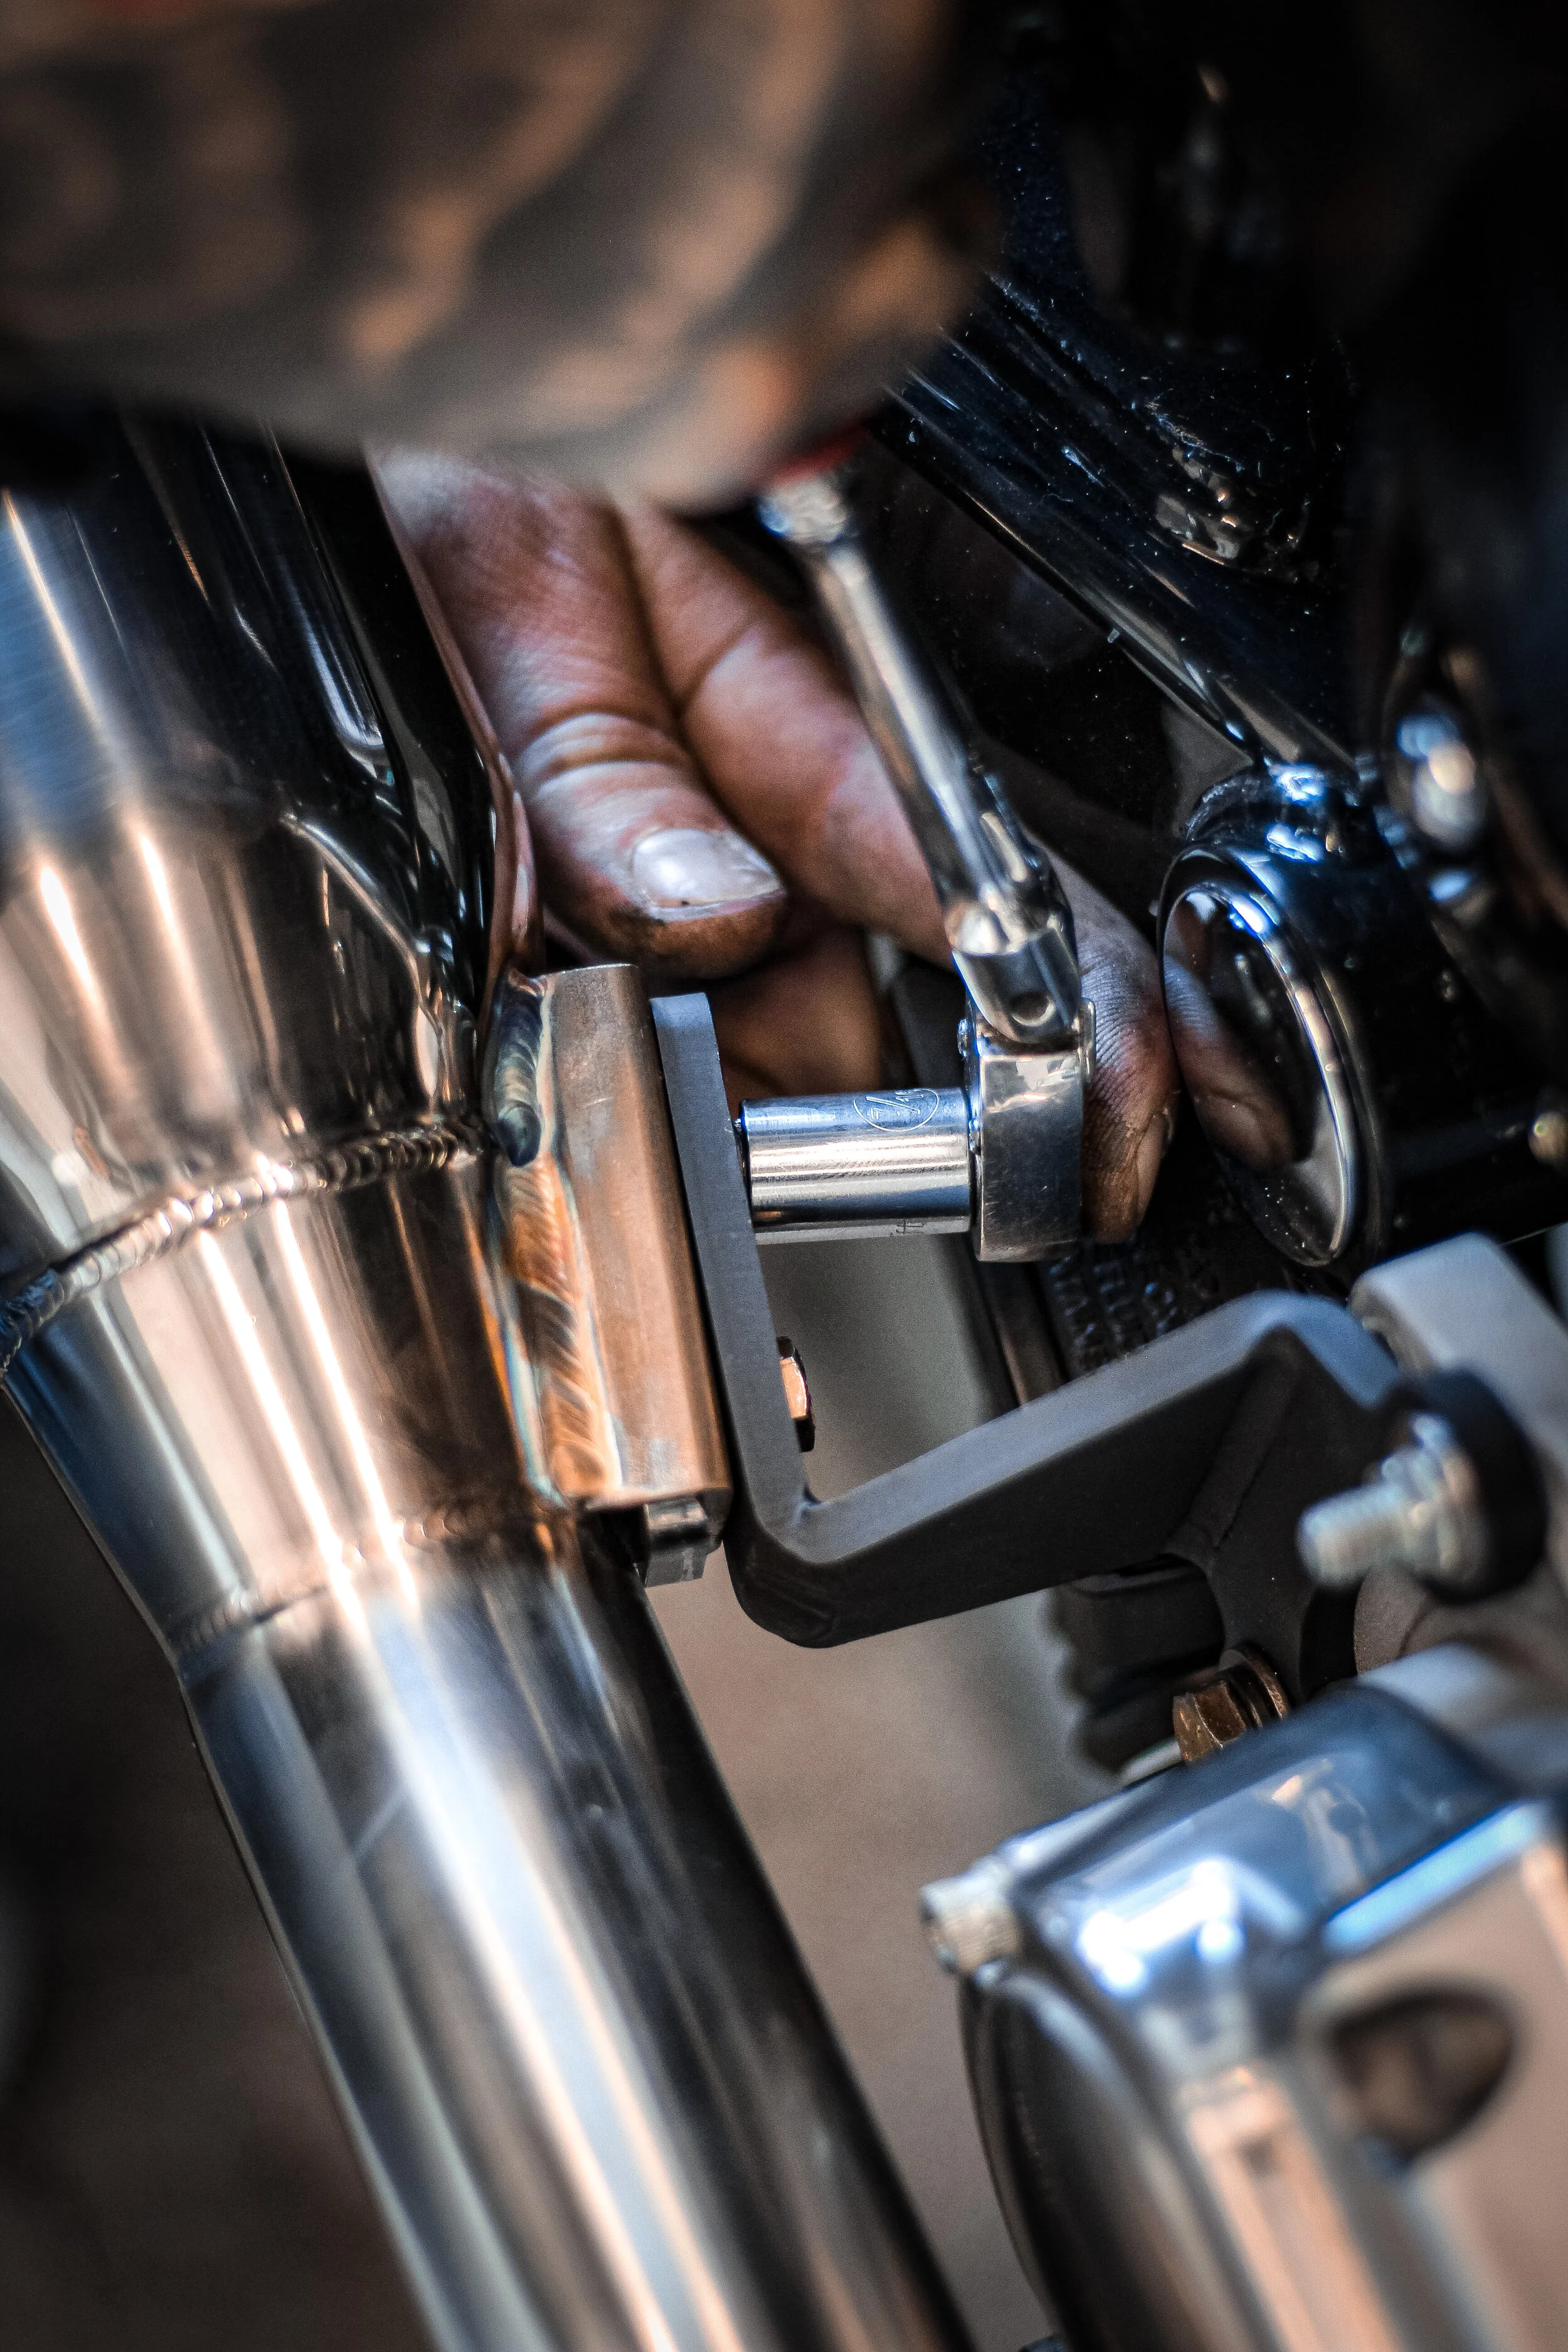
hardware install
Put blue locktite on both 1/4 screw that we gave you
Alignt mounting plate and hand tight both screw

spring retainer install
Take a 90 degree pick and install both spring in place

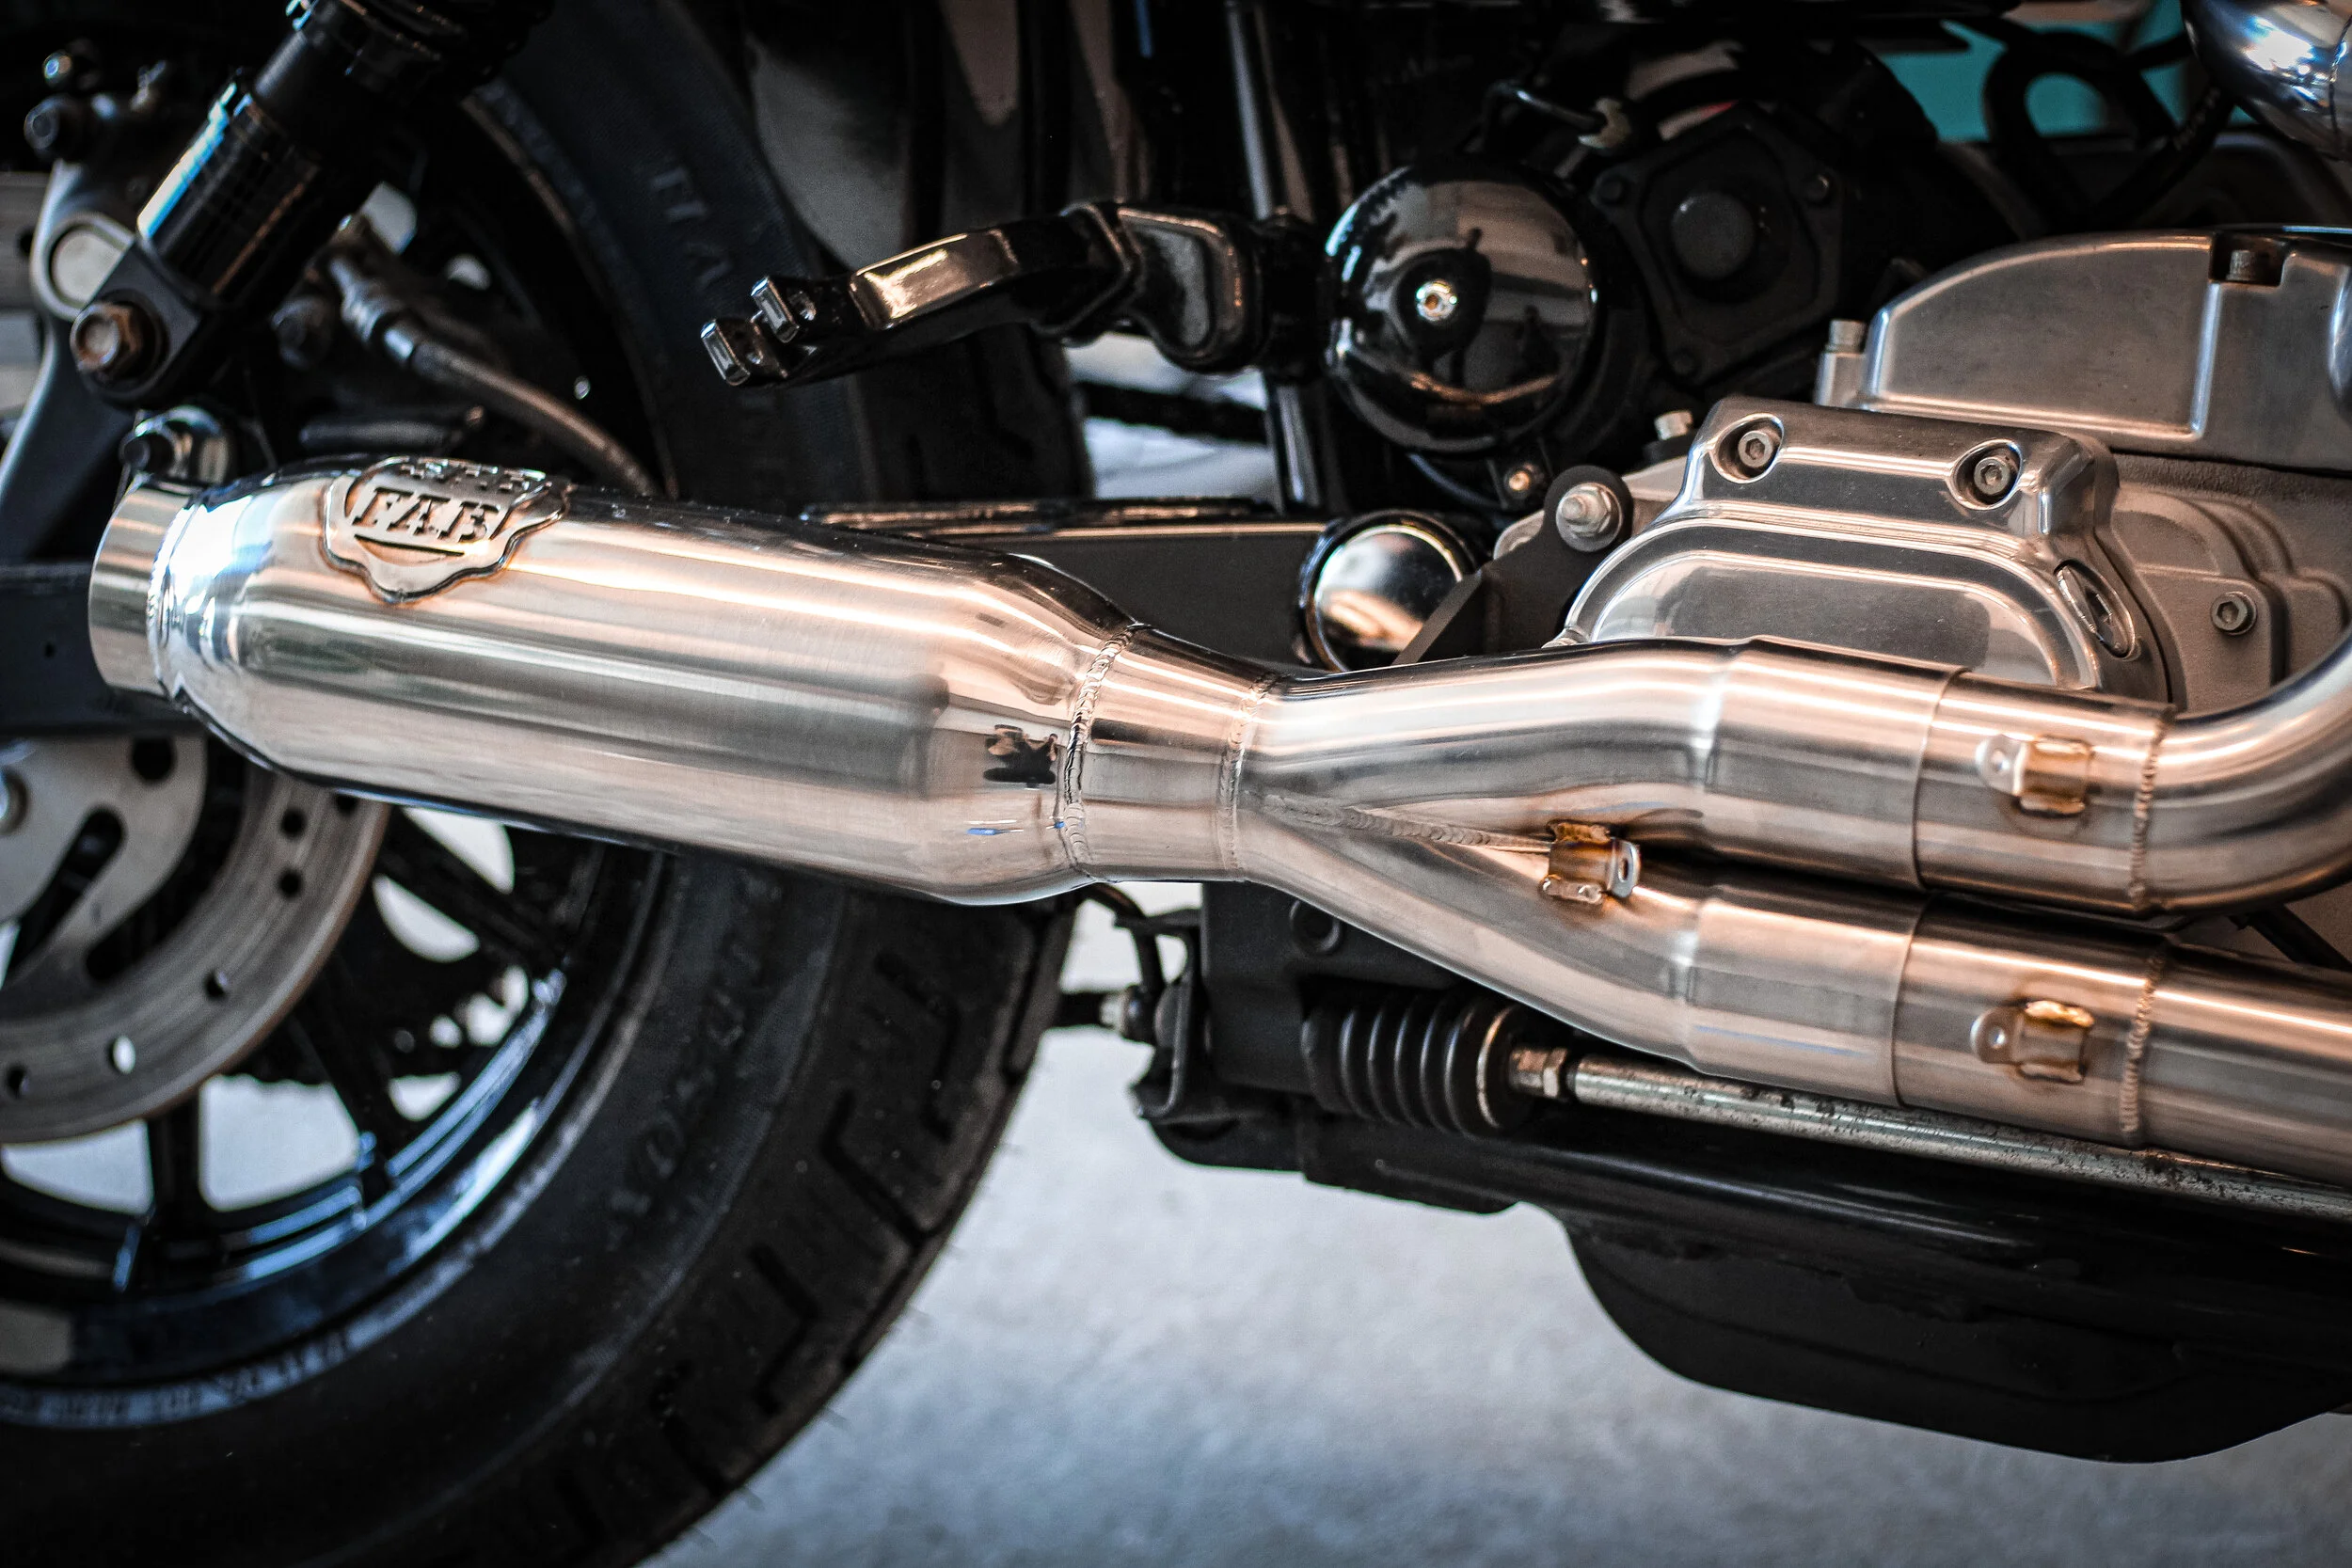
torque both headers
Place your headers where you want them to be making sure they dont touch any component
Torque the 4 nuts at 96-120 inch-lbs

torque exhaust bracket
Torque both transmission bolts to 15-17 foot pounds
Torque both 1/4 mounting plate bolts to 10 foot pounds
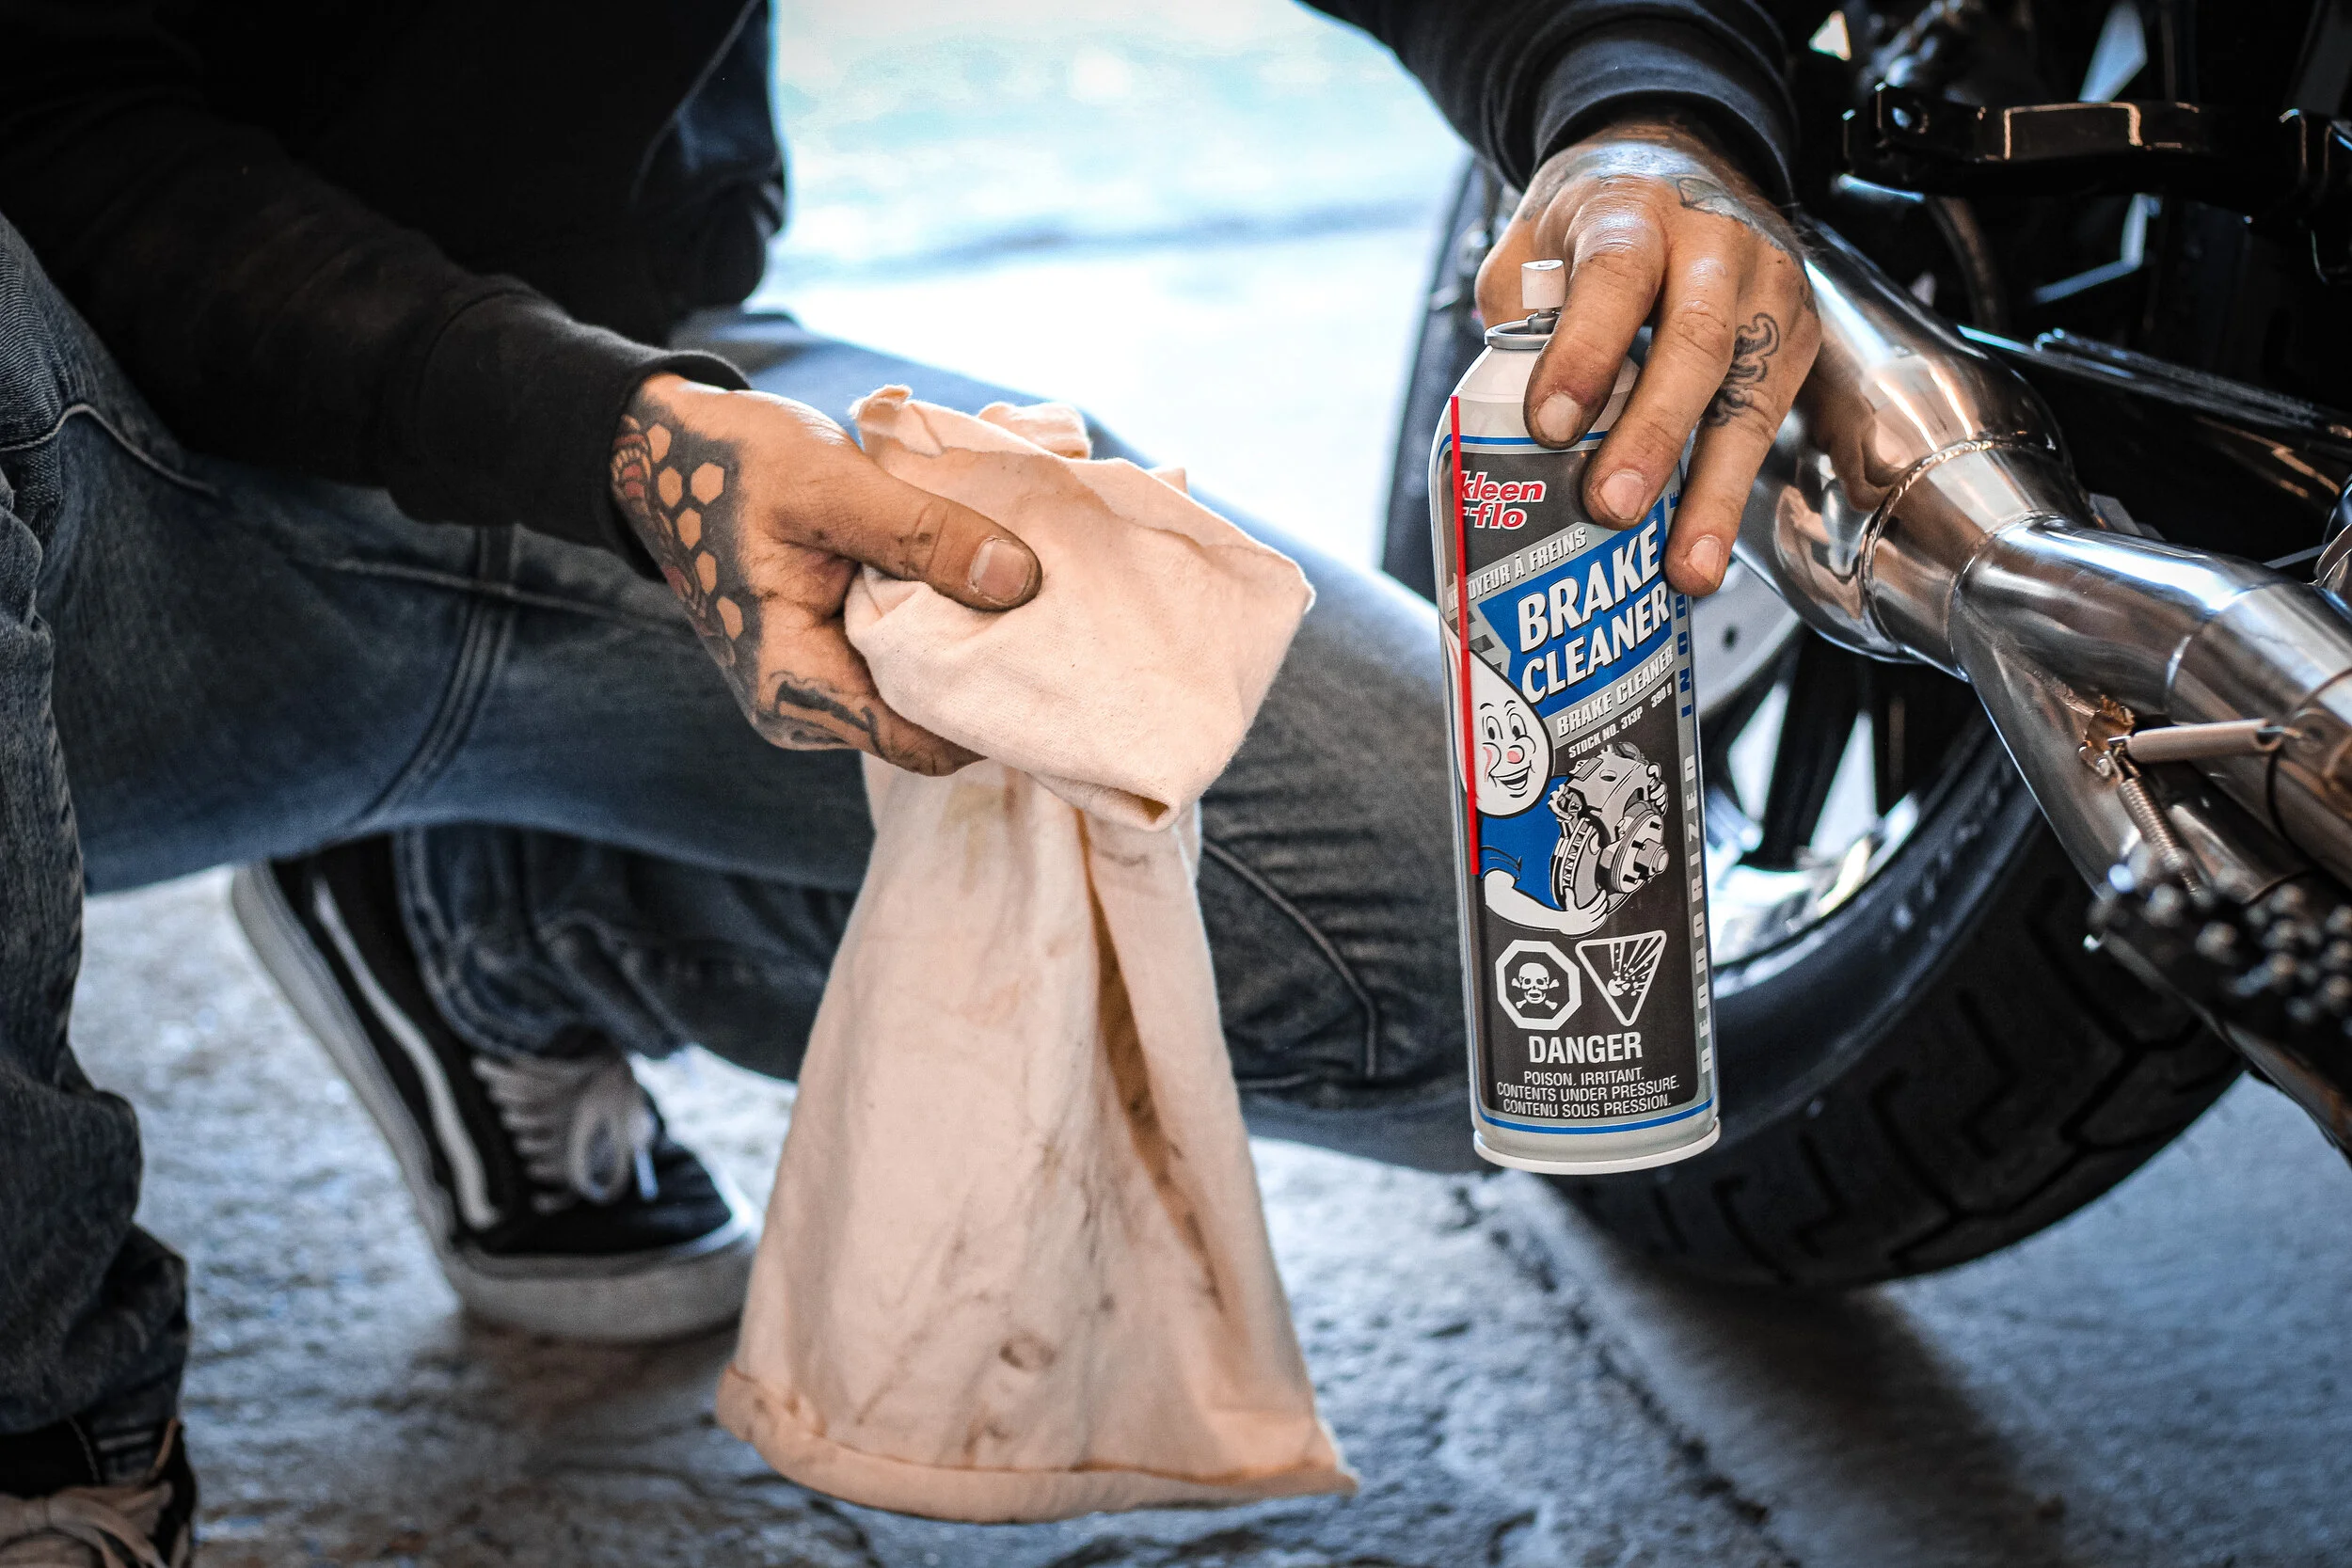

cleaning
Make sure you take all fingerprint and grease of the exhaust system by using brake cleaner before you start the engine to prevent unwanted finish
——— A smoking exhaust is normal on first startup for 2-3 min as the inside of the exhaust is burning the finger grease of the fabrication process ———-
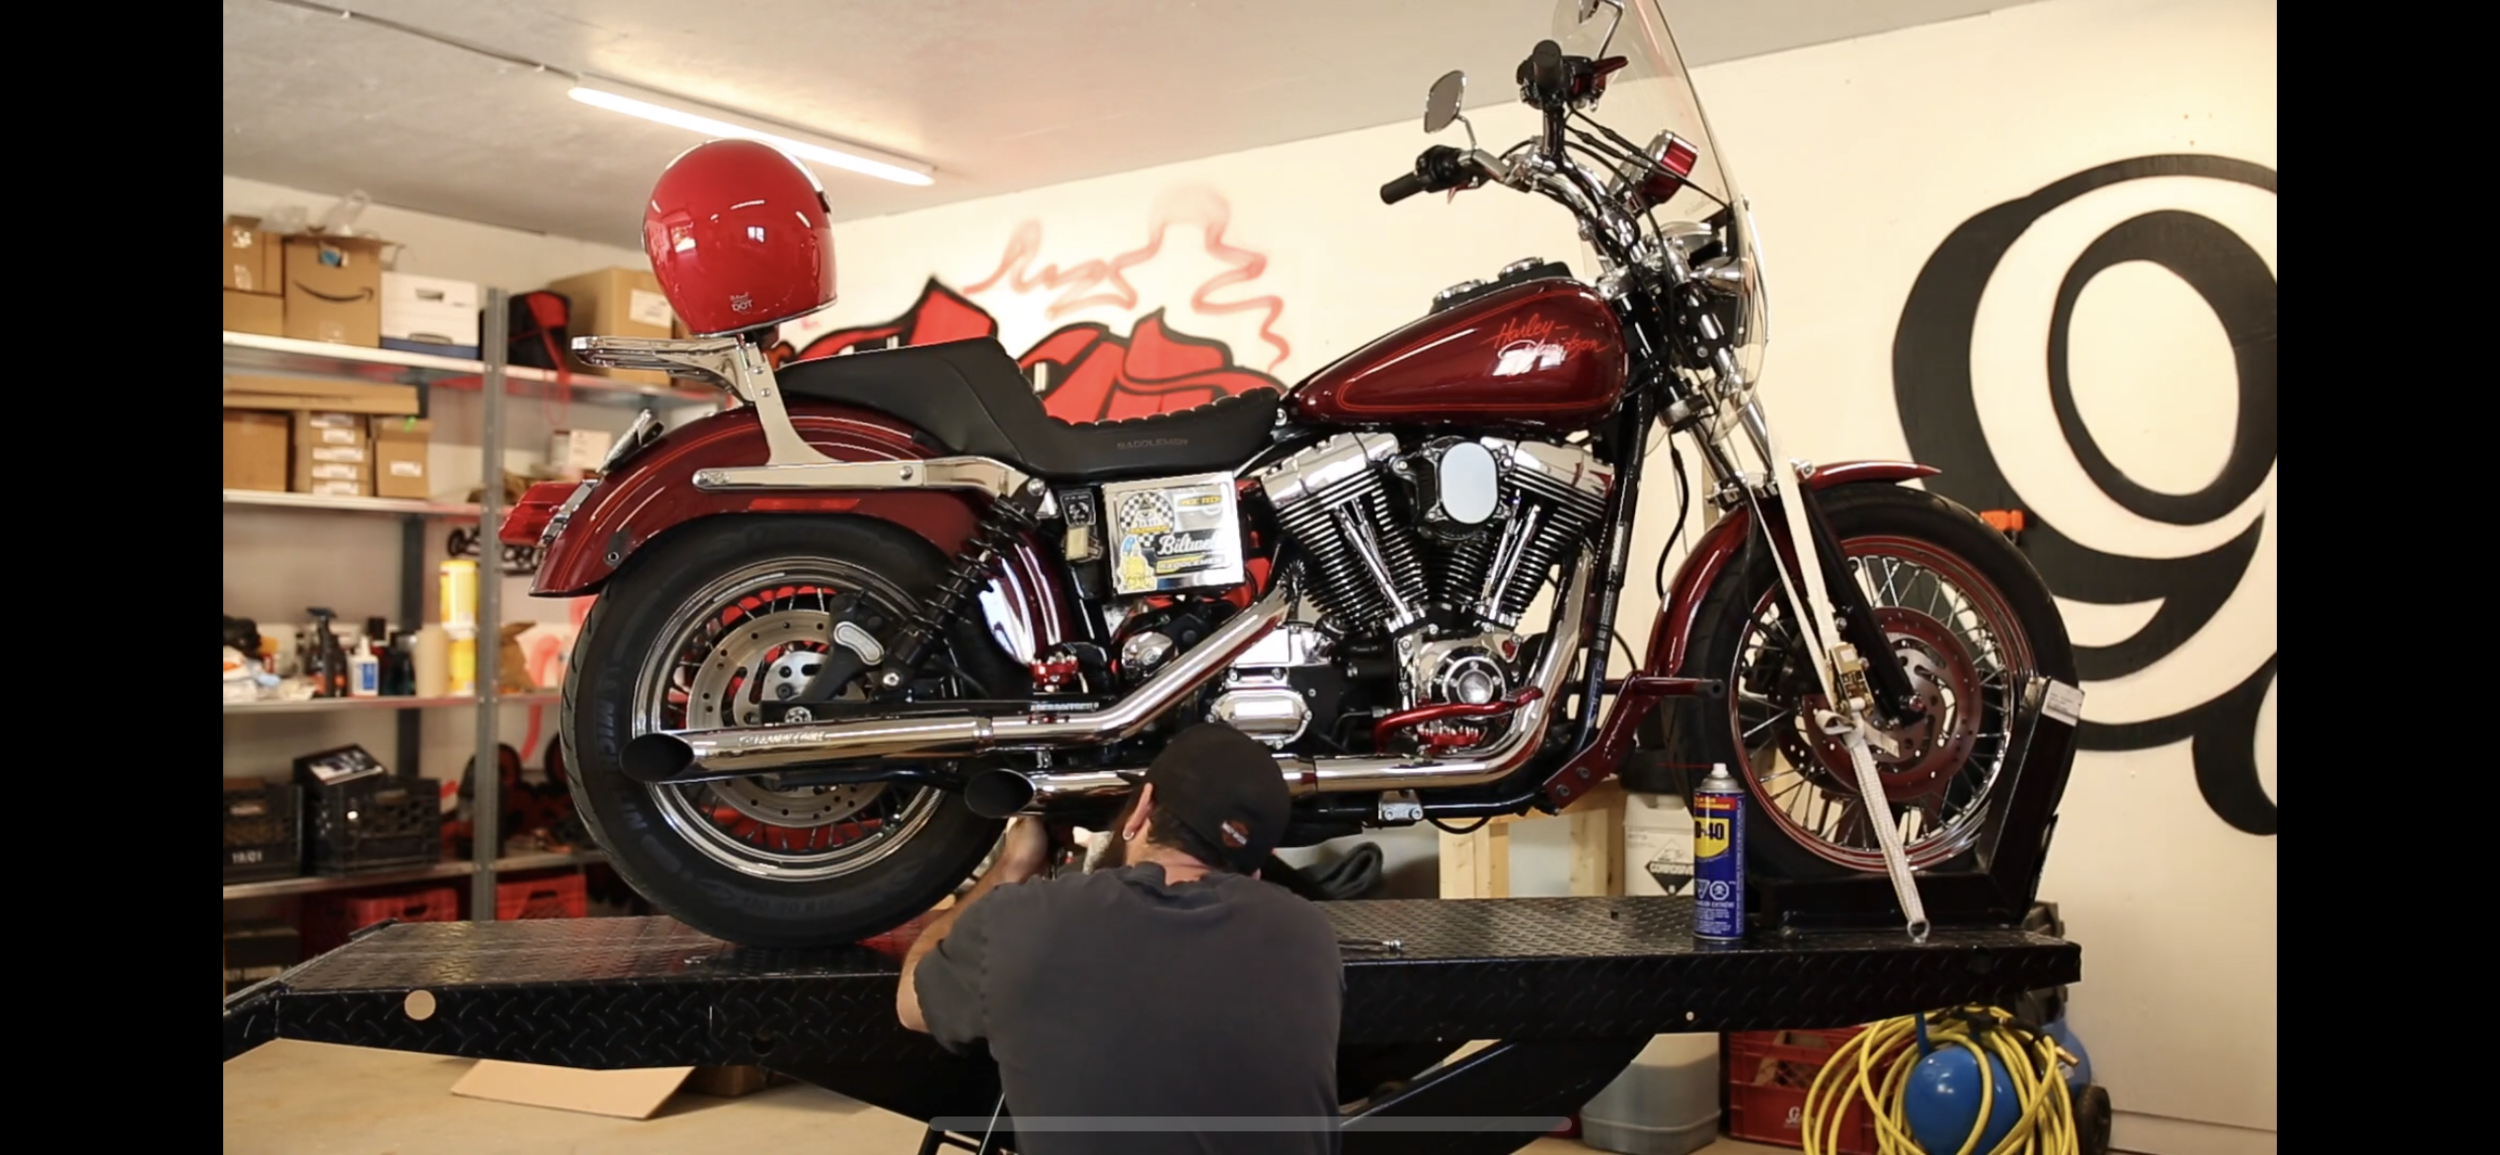
Make it real
Here goes a great installation video from 905_cycles
In this video they removed the old screamin’ eagle side pipes and installed our SPB FAB 2 into 1 exhaust.
2000 Dyna FXDS Convertible.